
Creating a Wix client portal is actually easier than you think. And I’m going to prove it to you in this article.
By the end of this post, you’ll learn how to create a Wix site, how to create a white-label client portal, and how to integrate it with your Wix website.
This guide will show you how to take a simple Wix website and turn it into a membership stip site that allows clients to sign up for your service on their own — turning your marketing site into a full-blown web app, without writing any code!
Okay, let’s get into it.
Understanding Wix and client portals
Imagine allowing your clients to log into your Wix website and have their very own custom dashboard where you and your clients can communicate, share files, make payments, and get help all in one place. That's what a client portal does for your business. It turns your regular website into a software product — without you having to know how to code!
Having a Wix website is a great way to create a storefront for your service business and showcase your work to potential clients. Wix has great drag-and-drop features and an extensive template library to build out your marketing site. But, integrating it with a robust client portal takes things up several notches.
The power duo: Wix + client portal
Let’s think about it this way: If we consider your Wix website as the structure of a VIP lounge, then the client portal acts as the service staff within it — catering to each visitor personally according to their needs. When used together effectively, they provide a seamless user experience and transform how clients interact with your business online.
Copilot, for example, offers white-label client portals that streamline messaging, file-sharing payments, and more into one easy-to-use platform. Integrating Copilot's powerful functionality with your Wix site allows users smooth transitions between browsing on-site content (through your Wix site) and accessing personal accounts (Copilot) via secure login buttons added directly onto webpages.
Bridging gaps & building relationships
Merging these two platforms isn't just about convenience — it builds stronger relationships too. Having an integrated system means less time searching for emails or struggling through disjointed payment processes because everything is centralized under one roof, literally.
Selecting the right client portal software
When selecting the appropriate client portal software, make sure it satisfies both your business objectives and your client's requirements. The choice should align with your business goals and meet your client's needs.
Your business needs
Firstly, think about what features you'll need from a client portal. Do you just want an easy way for clients to make payments or do they also need access to specific apps? Maybe file sharing is important for your business operations. Be clear on these aspects before starting your search.
User experience
A great user experience can set apart good client portals from the rest. So, consider how intuitive and user-friendly potential options are. It's essential that your clients find navigating through the system straightforward and simple.
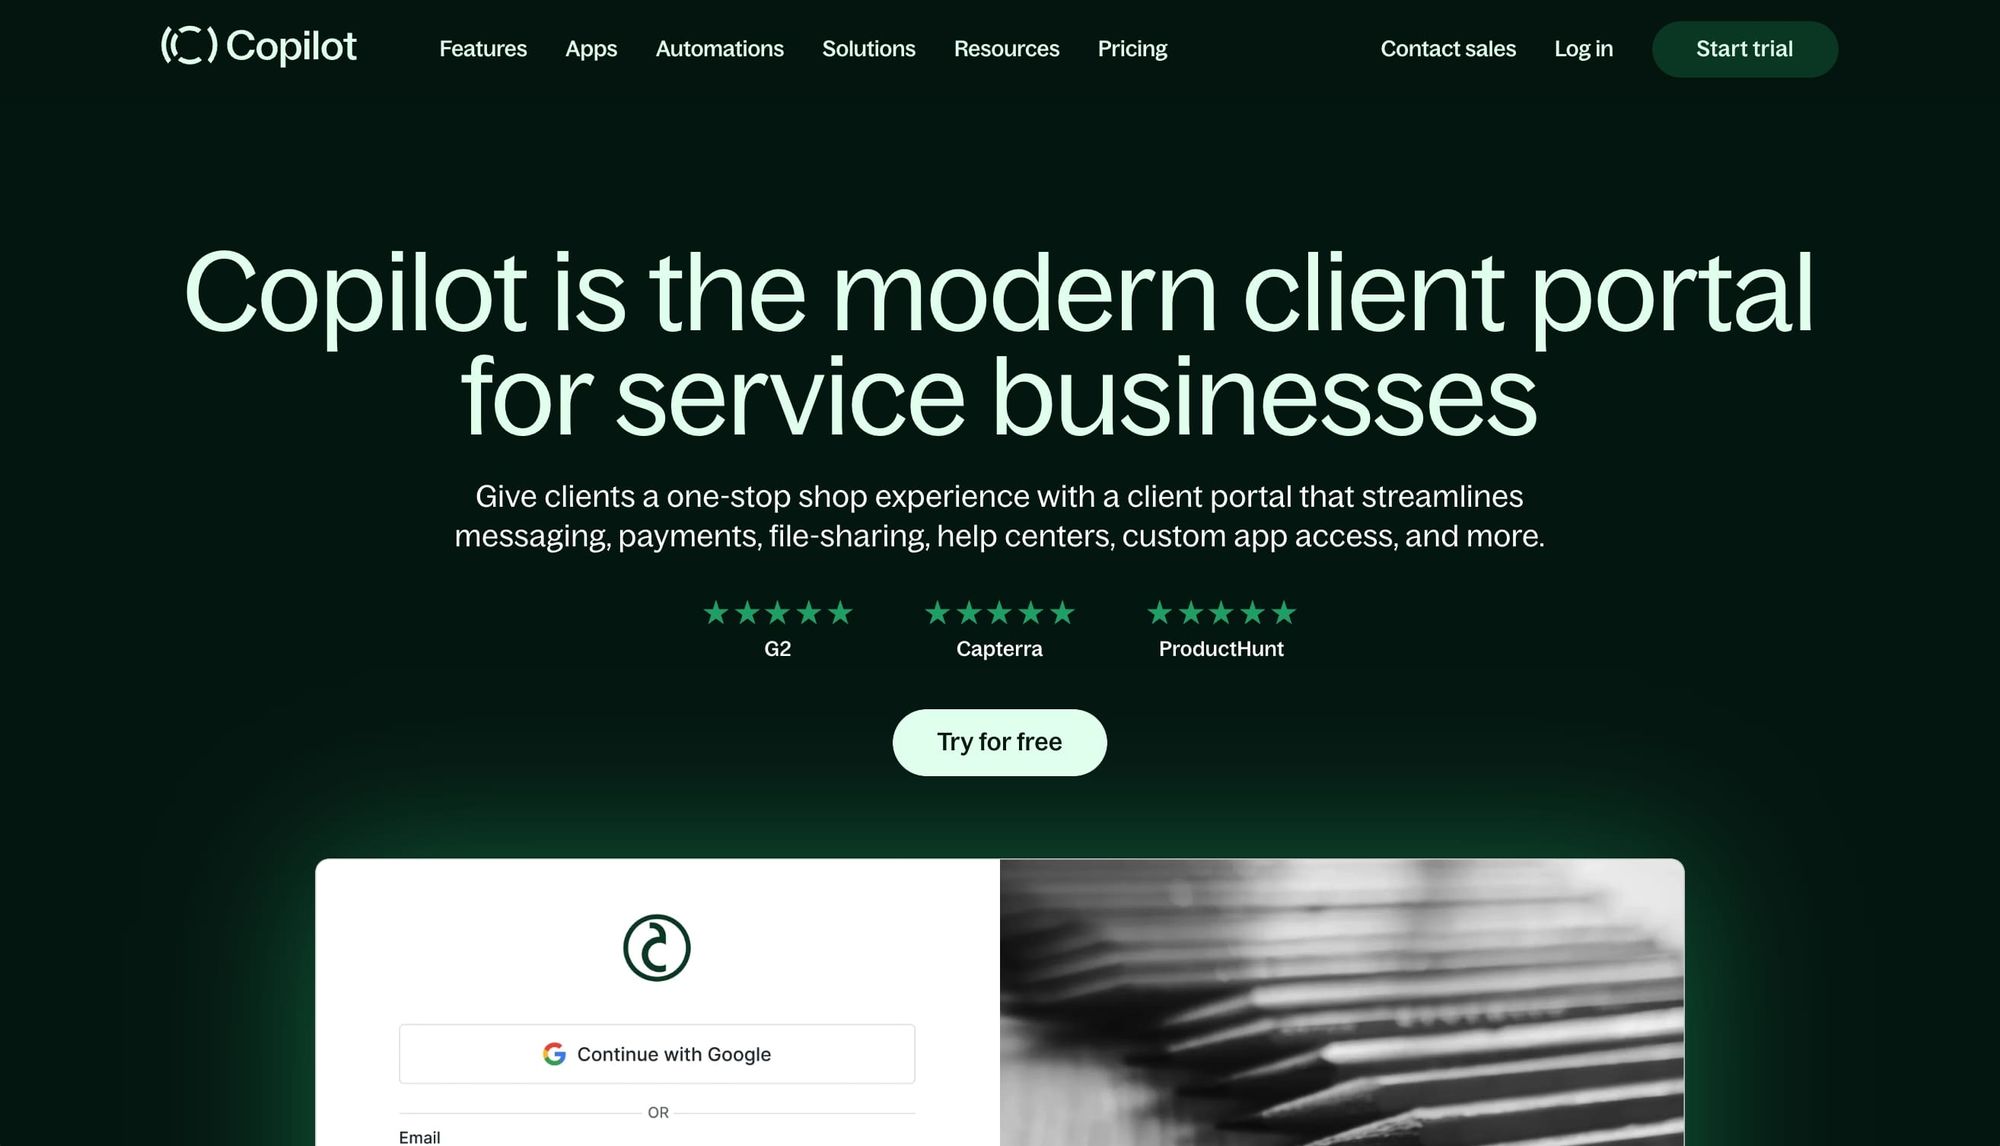
Copilot as your client portal platform
You might be wondering why I am suggesting Copilot specifically as a suitable option here? Well, based on my personal experience of using Copilot, this platform offers all these benefits plus more. From streamlined messaging systems to custom app access — it has got everything covered.
The thing I love about Copilot (no I am not an employee) is that I can set up subscriptions for my clients. This allows me to productize my agency services and with the login feature clients tell me that my agency feels like a SaaS product to them.
Integration capabilities
If integration with other platforms like Wix is crucial for you (which probably brought you here), then look no further than Copilot again. Adding a sign-in button on Wix website that leads directly into your Copilot client portal couldn't be simpler.
The cost factor
Last but not least: cost-effectiveness matters too. Consider whether investing in pricier premium versions will actually give any additional value over basic ones if budget constraints exist. You might find the standard version of Copilot, for instance, already offers all you need.
In a nutshell, picking the right client portal software involves careful consideration of your business needs and objectives. Don't rush into making a decision but do keep an open mind about platforms like Copilot that could tick all your boxes.
Setting up your Wix website

To start, you'll need to sign up for a Wix account. This process is pretty straightforward. Just enter your email and create a password.
Next, select the type of website you want to build from their given options. Remember, it's important to choose one that fits your business model best.
Picking the right template
The next step in setting up your Wix site involves picking the right template. You can find tons of professionally designed templates on Wix’s Templates page.
This might seem like an overwhelming task with so many beautiful designs available. But don't worry — just remember that each template has been crafted by professionals who know what works visually and functionally.
Customizing your site
You've got yourself a neat-looking template, now let's give it some personality. Use the drag-and-drop editor on Wix to customize everything from color schemes and fonts down to specific page layouts.
For this example, I’m going to create a website for my marketing agency.
A tip here: Make sure not only does it look great but also matches your brand identity perfectly.
Add essential pages
Your visitors will be looking for certain information when they land on your website. To meet this need, add pages such as 'About Us', 'Services', or 'Contact'. Adding these essential pages will make sure potential clients get all they're searching for about you or what you offer quickly without hassle.
In this case, the template I chose already came with these essential pages, and chances are if you’re using a template yours came with them too.
If done right, these steps should help set up a basic yet professional-looking Wix site ready for integration with Copilot client portal software.
Prepping for integration
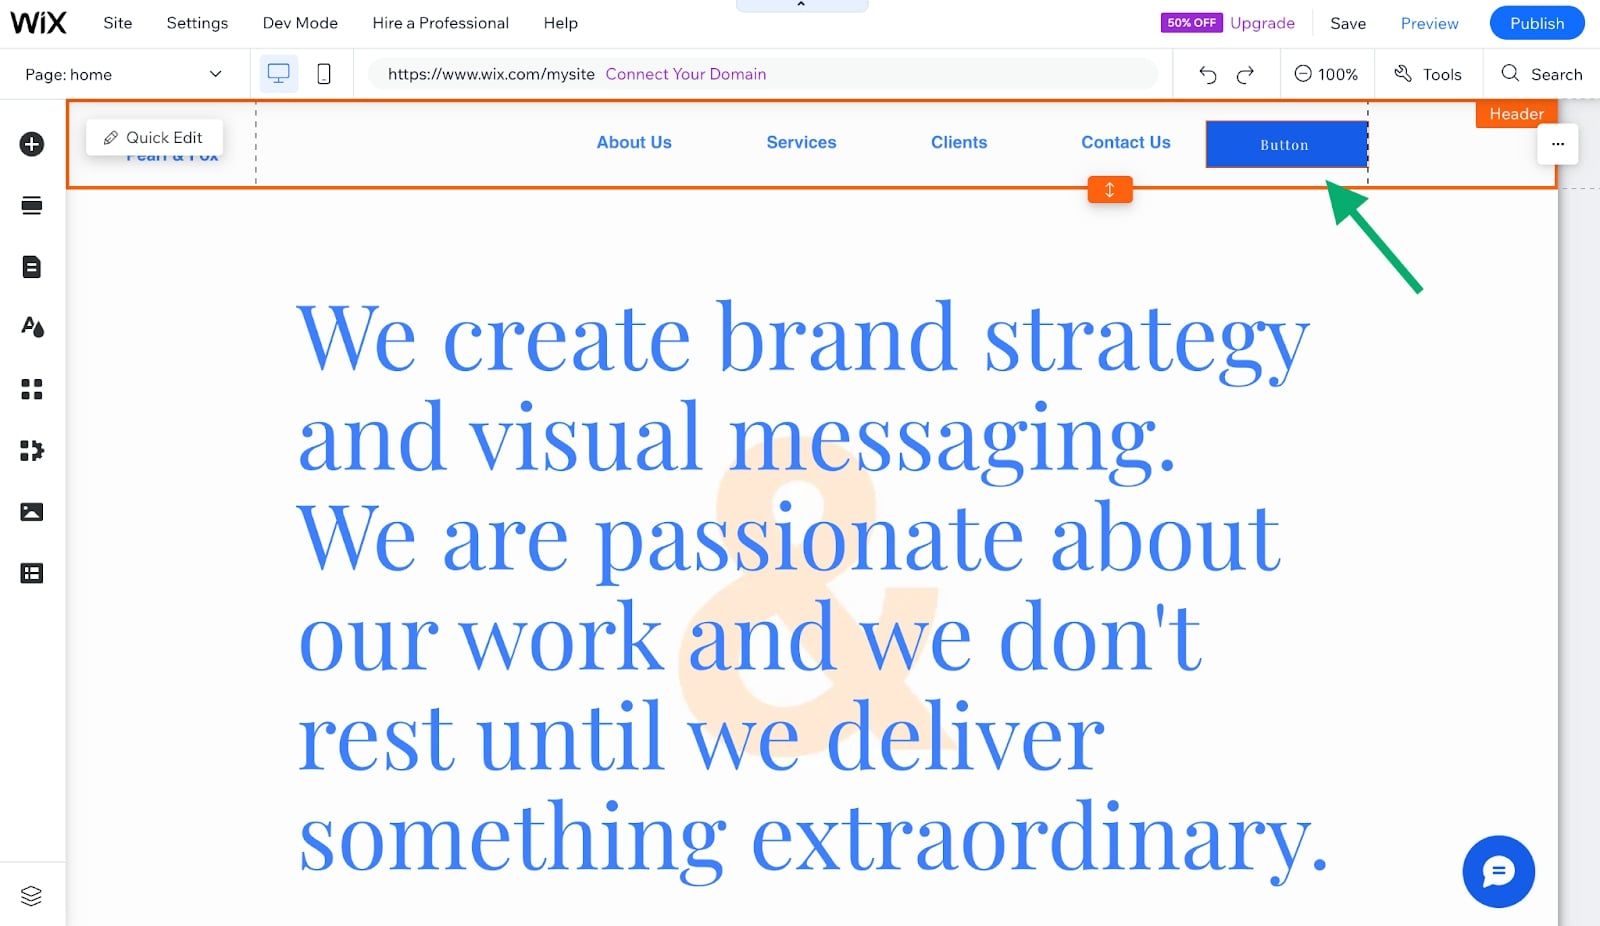
Before integrating your site with Copilot, you'll need to add a 'Sign In' button. This can be done in the Wix editor by adding a new button and linking it to your Copilot client portal URL.
To add a sign-in button, click on the plus icon in your Wix editor and then add a ‘Button’ element:
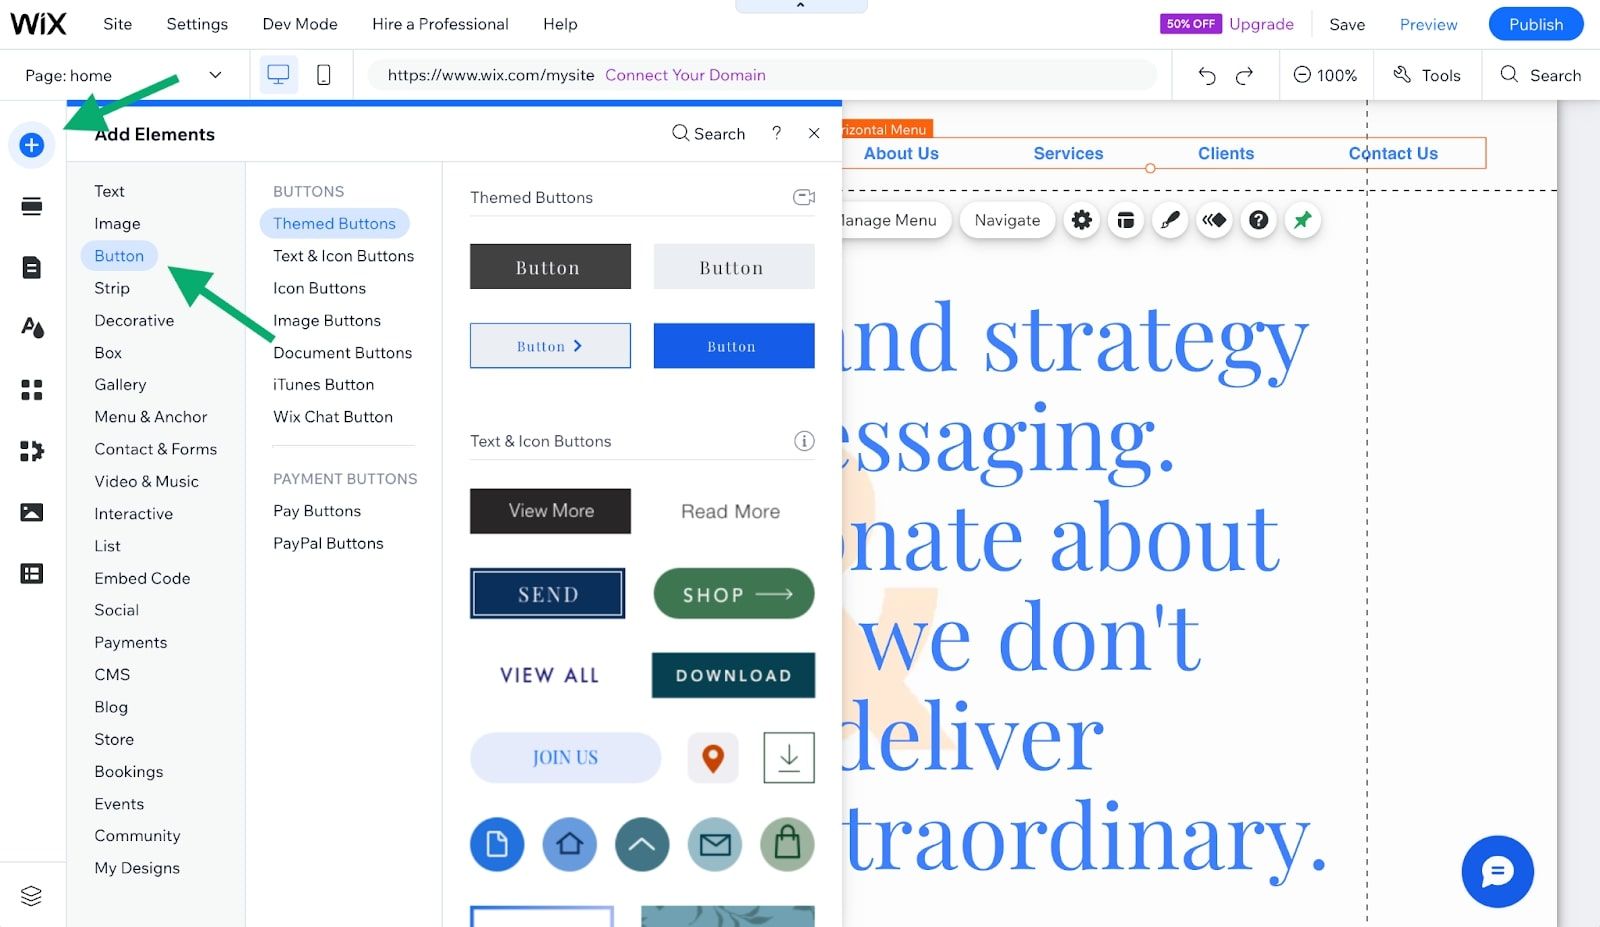
Once you click on a button you like, it will be free floating on your website. So, what we need to do now is adjust our navigation bar to make space for our sign-in button.
To do this, you want to edit your navbar by clicking and holding down on it. Once you do this, you’ll see this setting pop up:
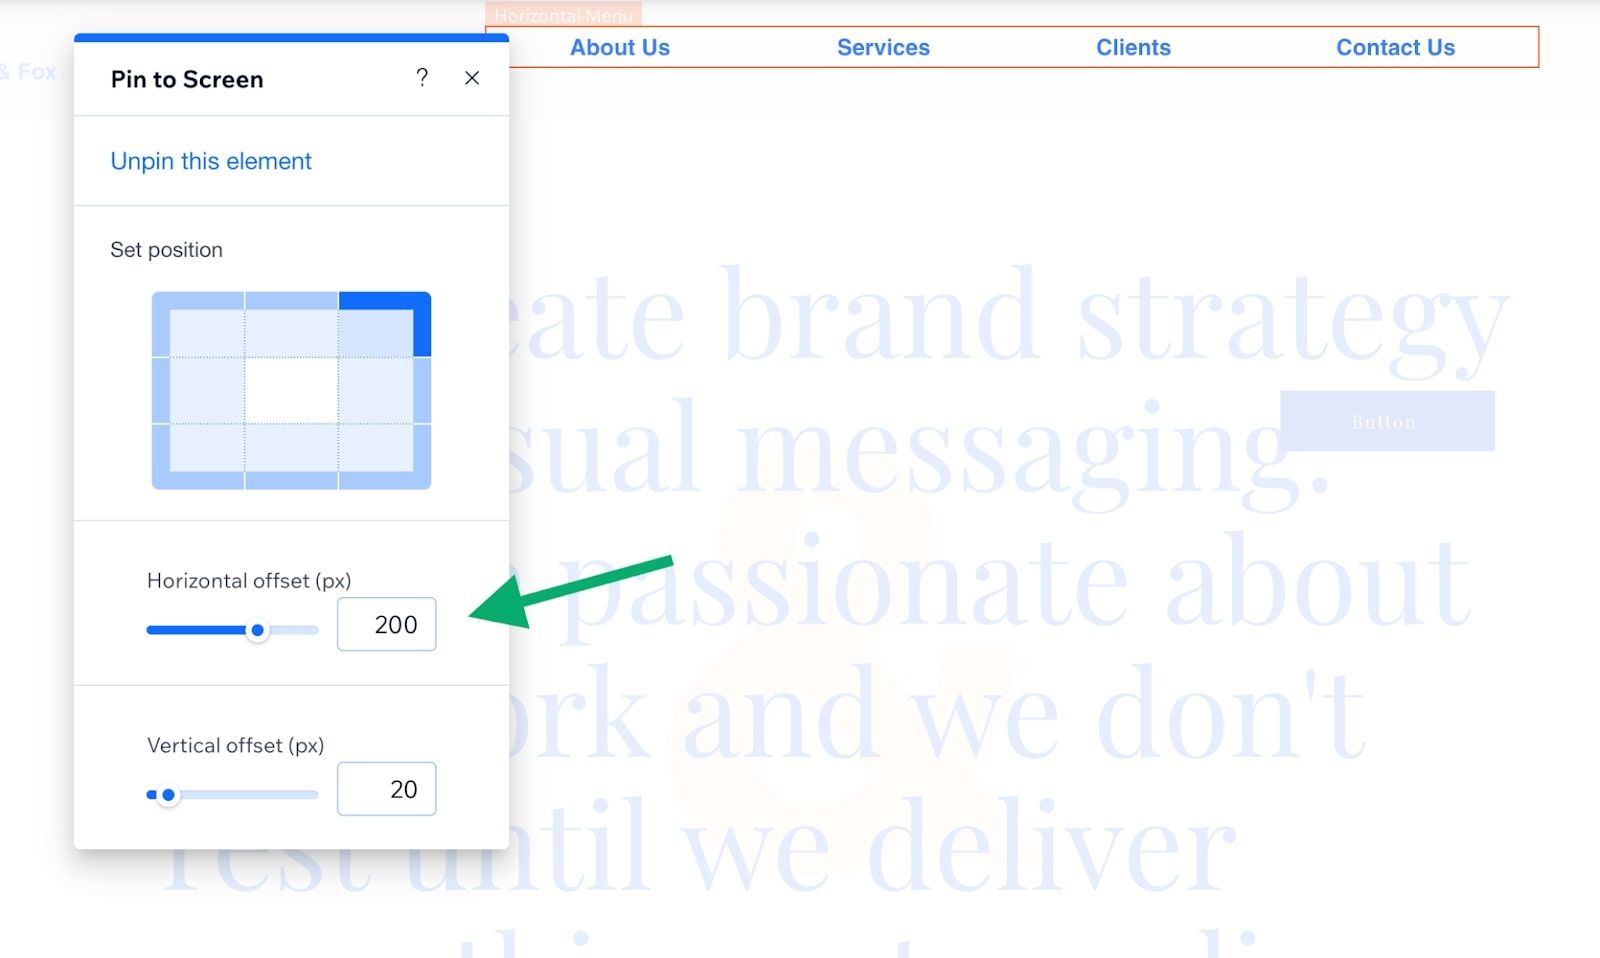
Here, I set a horizontal offset on my menu/navigation bar to 200 pixels. This will make space for my sign-in button.
You might have to tweak some of the alignment on your navigation bar to make sure your sign-in button is centered (I had to do that in the screenshot above).
But, once your button is in your navbar, you can now edit the text from ‘Button’ to ‘Sign In.’
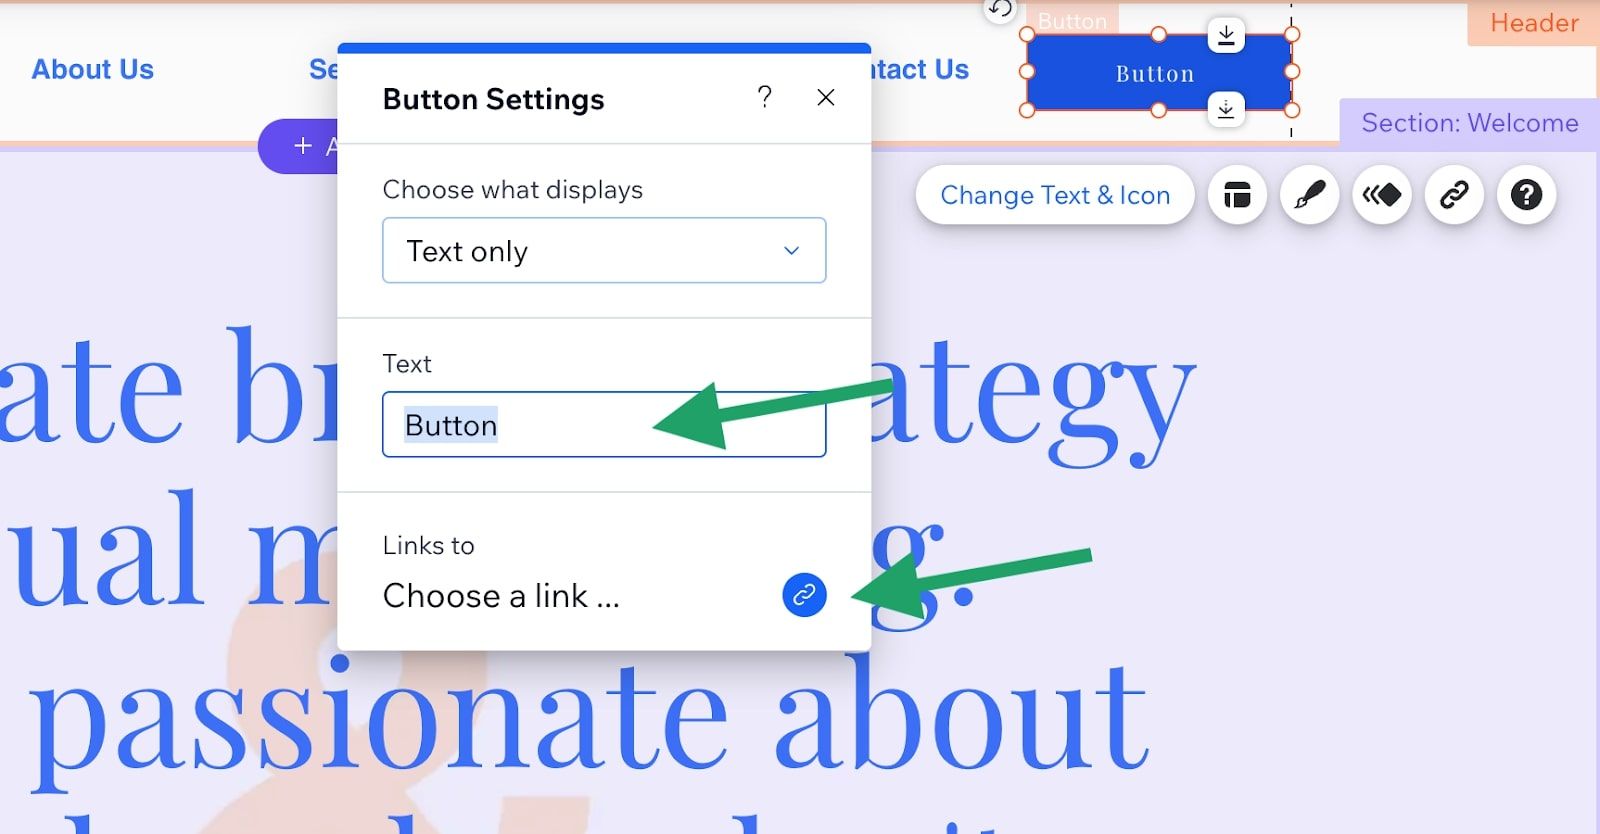
As you can see, there’s also an option to add a link. This is where we will eventually add the link to our Copilot client portal. For now, you can keep it blank.
In the next section, I’ll show you how to set up your client portal to match your brand and URL so that any time a client presses the button, they'll be sent directly to your customer portal without any hassle. It's all about streamlining the process for your customers!
Creating your Copilot client portal
When it comes to setting up your Copilot client portal, the process is straightforward and user-friendly. This ease of use doesn't mean we should overlook its importance, though. Splitting the setup of your Copilot client portal into manageable pieces is key.
Copilot has a full guide on how to set up and navigate your client portal here. However, we’ll go over some high-level things you need to know about during your initial setup.
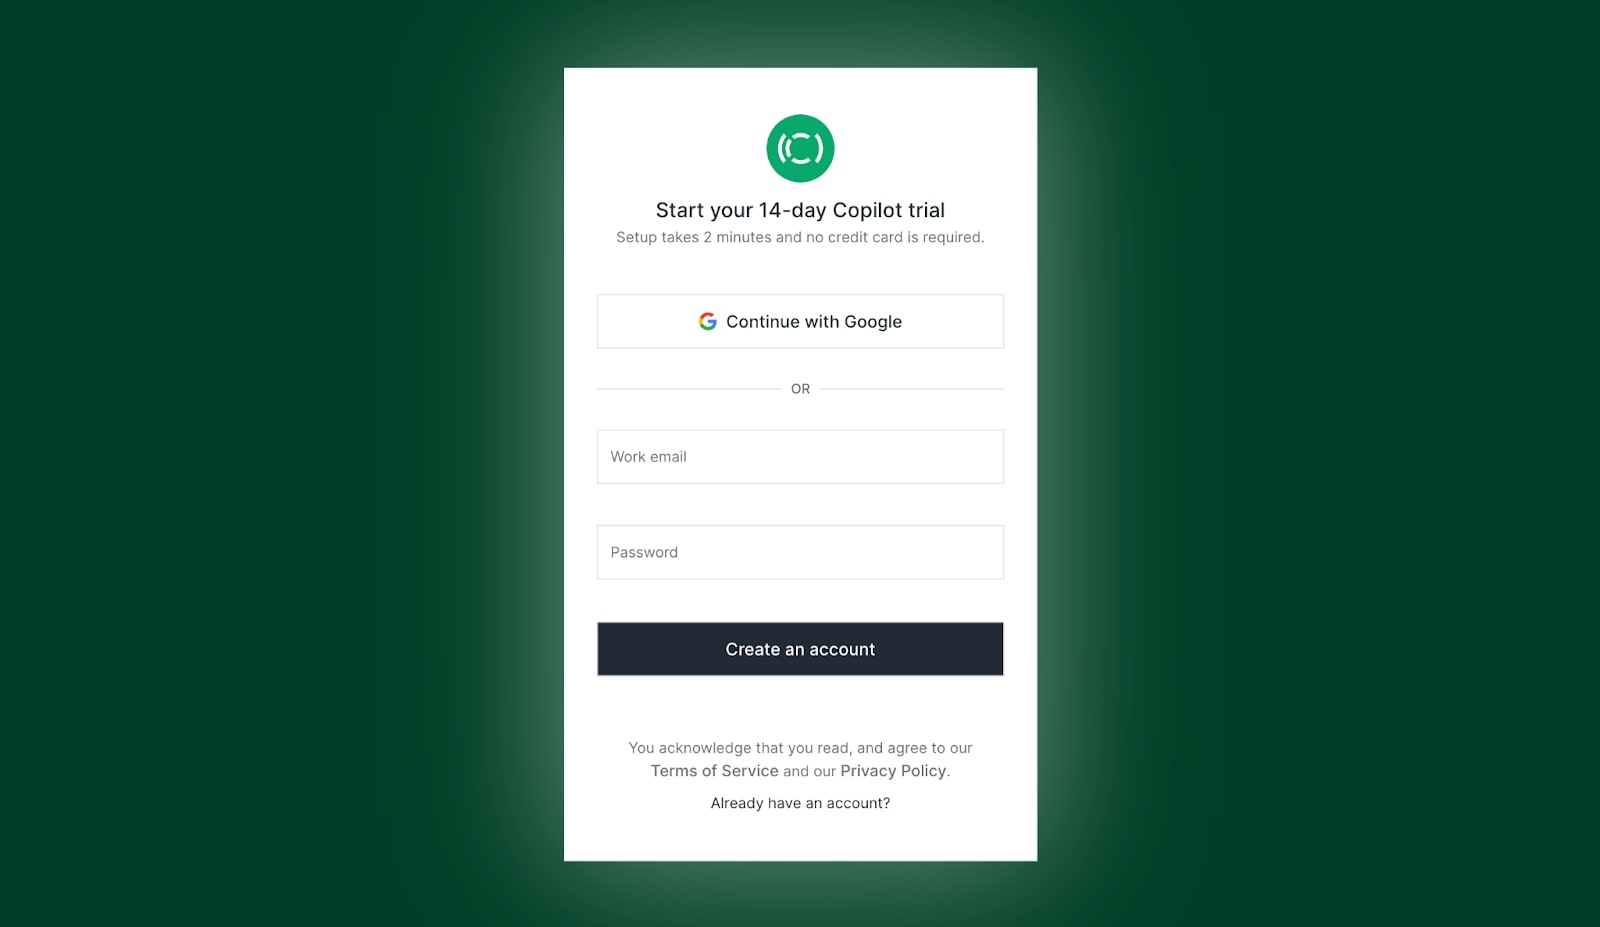
To sign up for a free Copilot trial account click here.
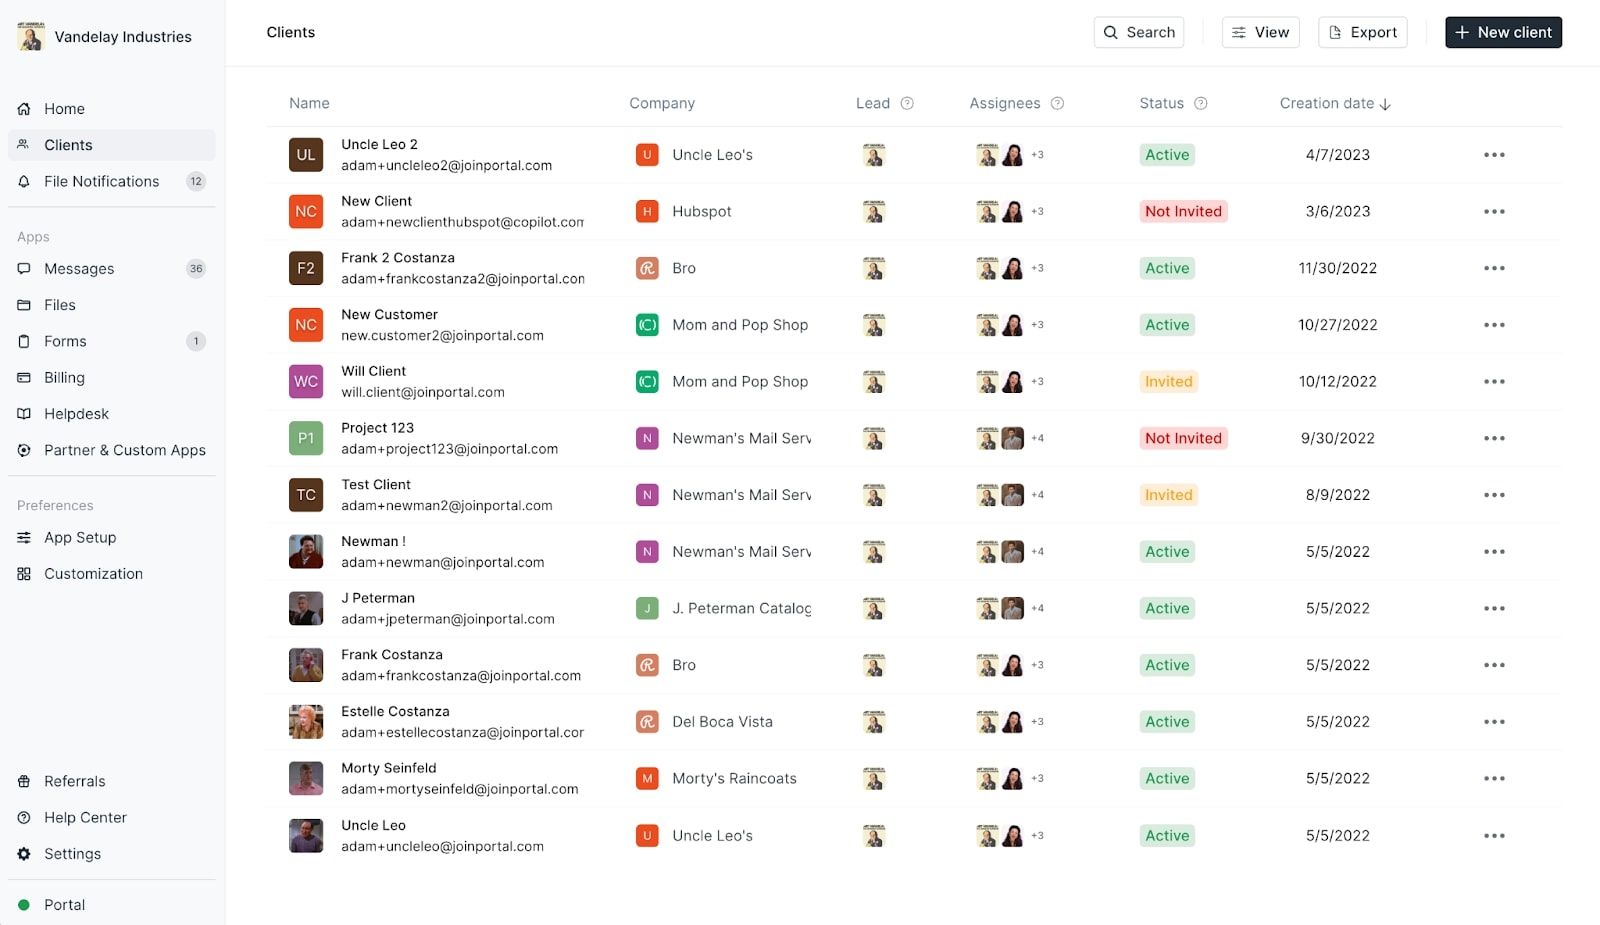
Once you log into your admin portal, you’ll see this page.
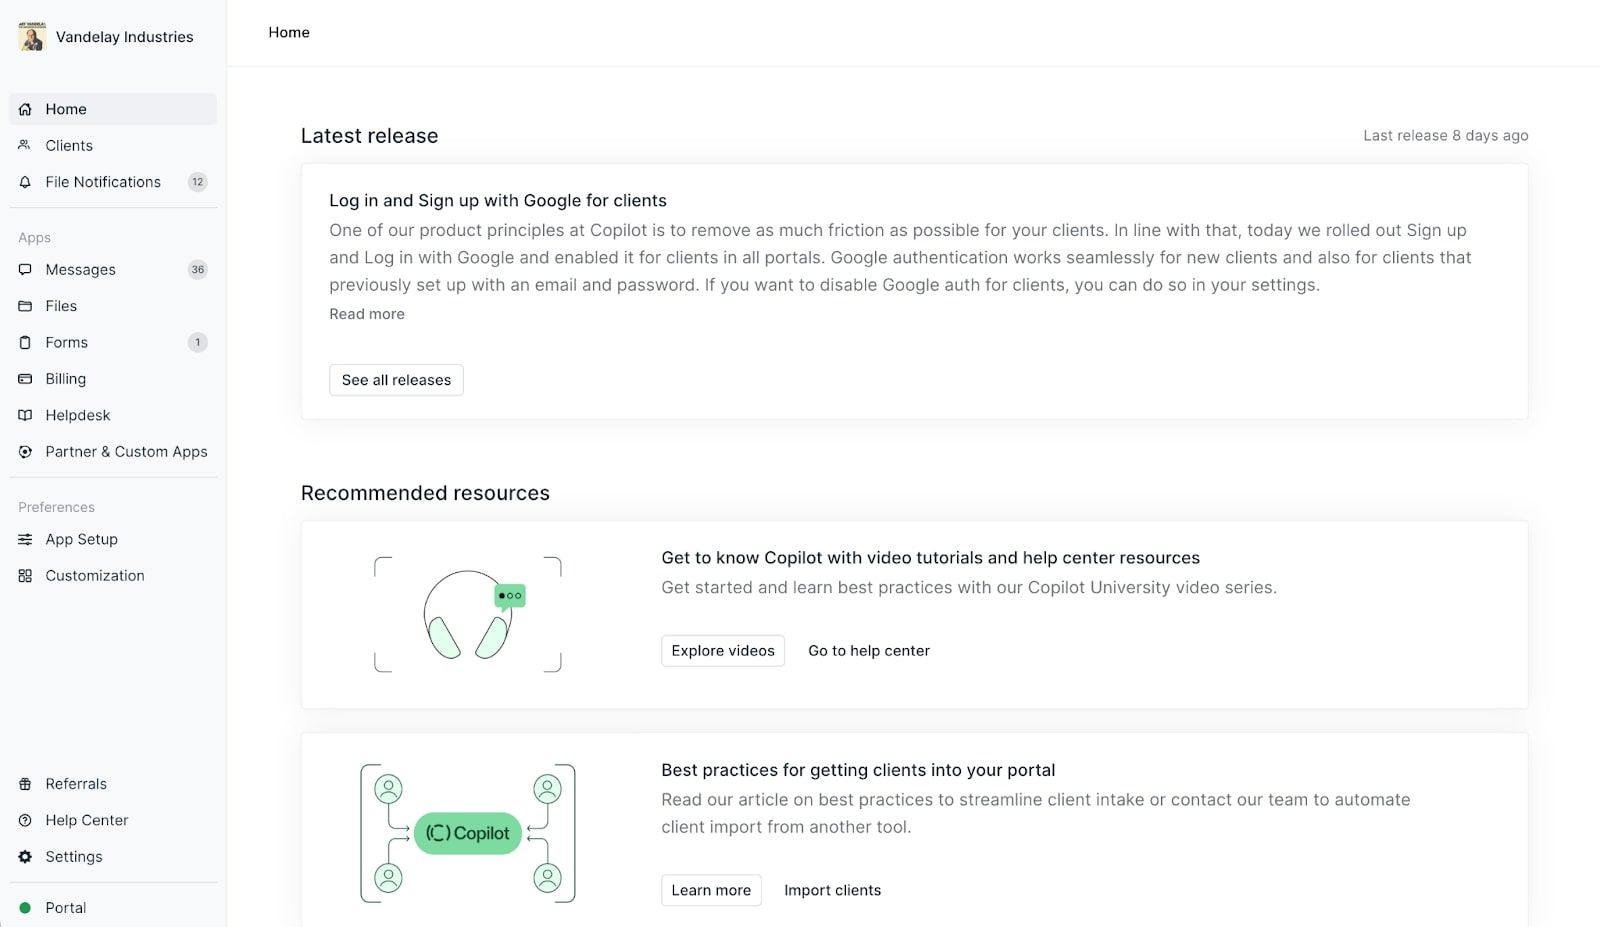
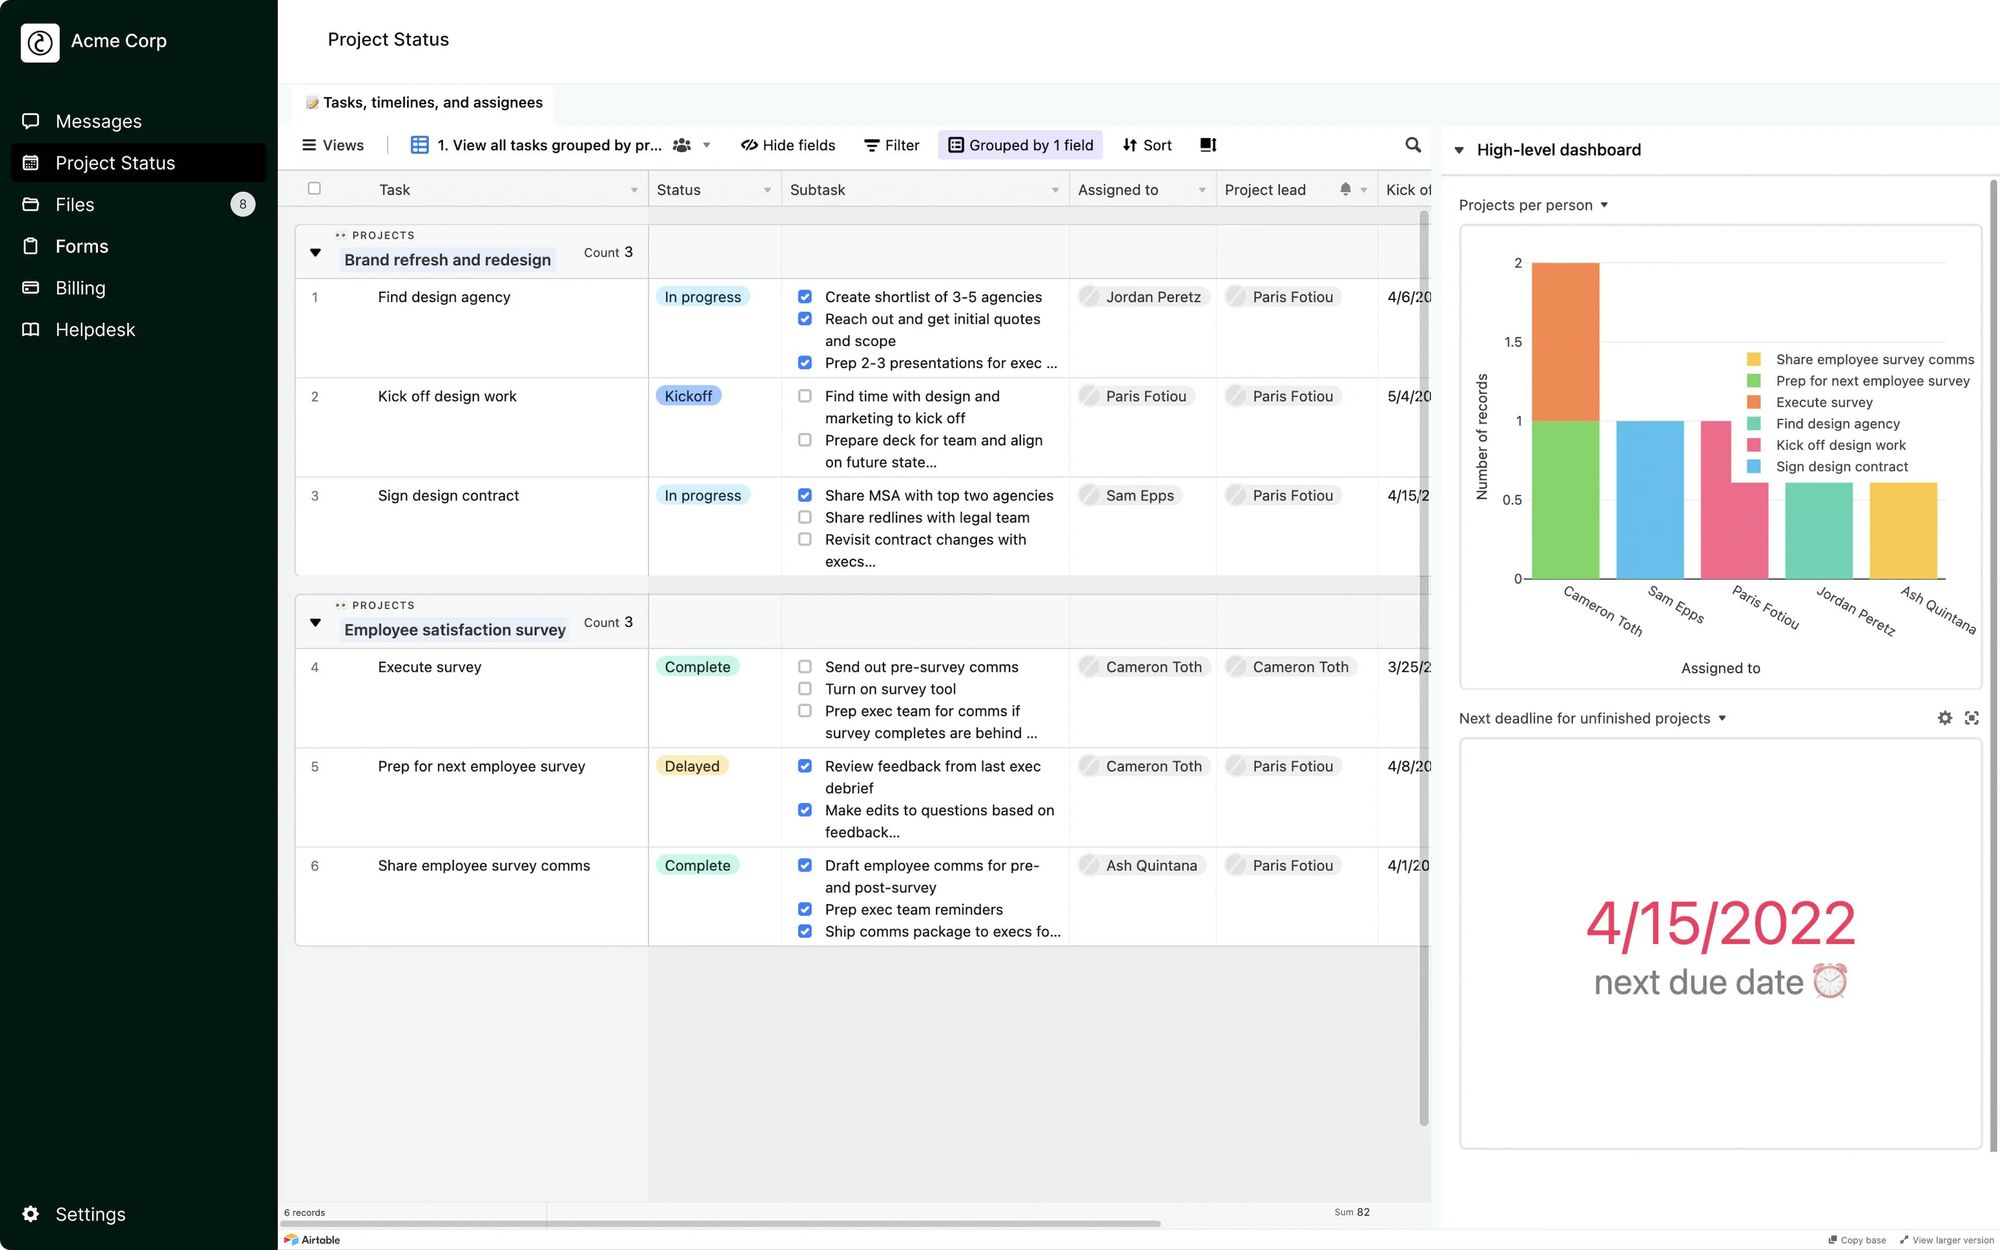
This is your admin portal. Here you can view all of your clients, any notifications coming in from your clients, and manage everything from intake forms, billing, files, messages, custom apps, and your helpdesk.
By default, there’s not much you need to do to create a client portal. Once you add a client, they will have their own personalized client portal which you can customize to fit either your branding or their branding.
So, you’ll want to add a client first and take your portal on a test run.
Taking your client portal on a test run
Before you invite a client to your portal or integrate it with your Wix website to have clients sign up on their own, you’ll want to use a test client to familiarize yourself with the platform.
To do this,
- Navigate to the Clients page.
- Click on New client > Create one client.
- Enter a name and email. Note that you can use the same email you used for your internal user.
- Copy the invite link and paste it into a browser tab. Or, send an email invite to yourself and log in from the provided link.
- Activate the test client.
Now, you can see all your clients in the ‘Clients’ tab of your admin portal.
Once you familiarize yourself with your Copilot client portal, you’ll want to add a custom domain so it fits the branding of your Wix website.
Copilot has a suite of YouTube videos to learn about your portal. So if you want to learn more, be sure to check out the full Getting Started playlist on YouTube.
Customizing your client portal
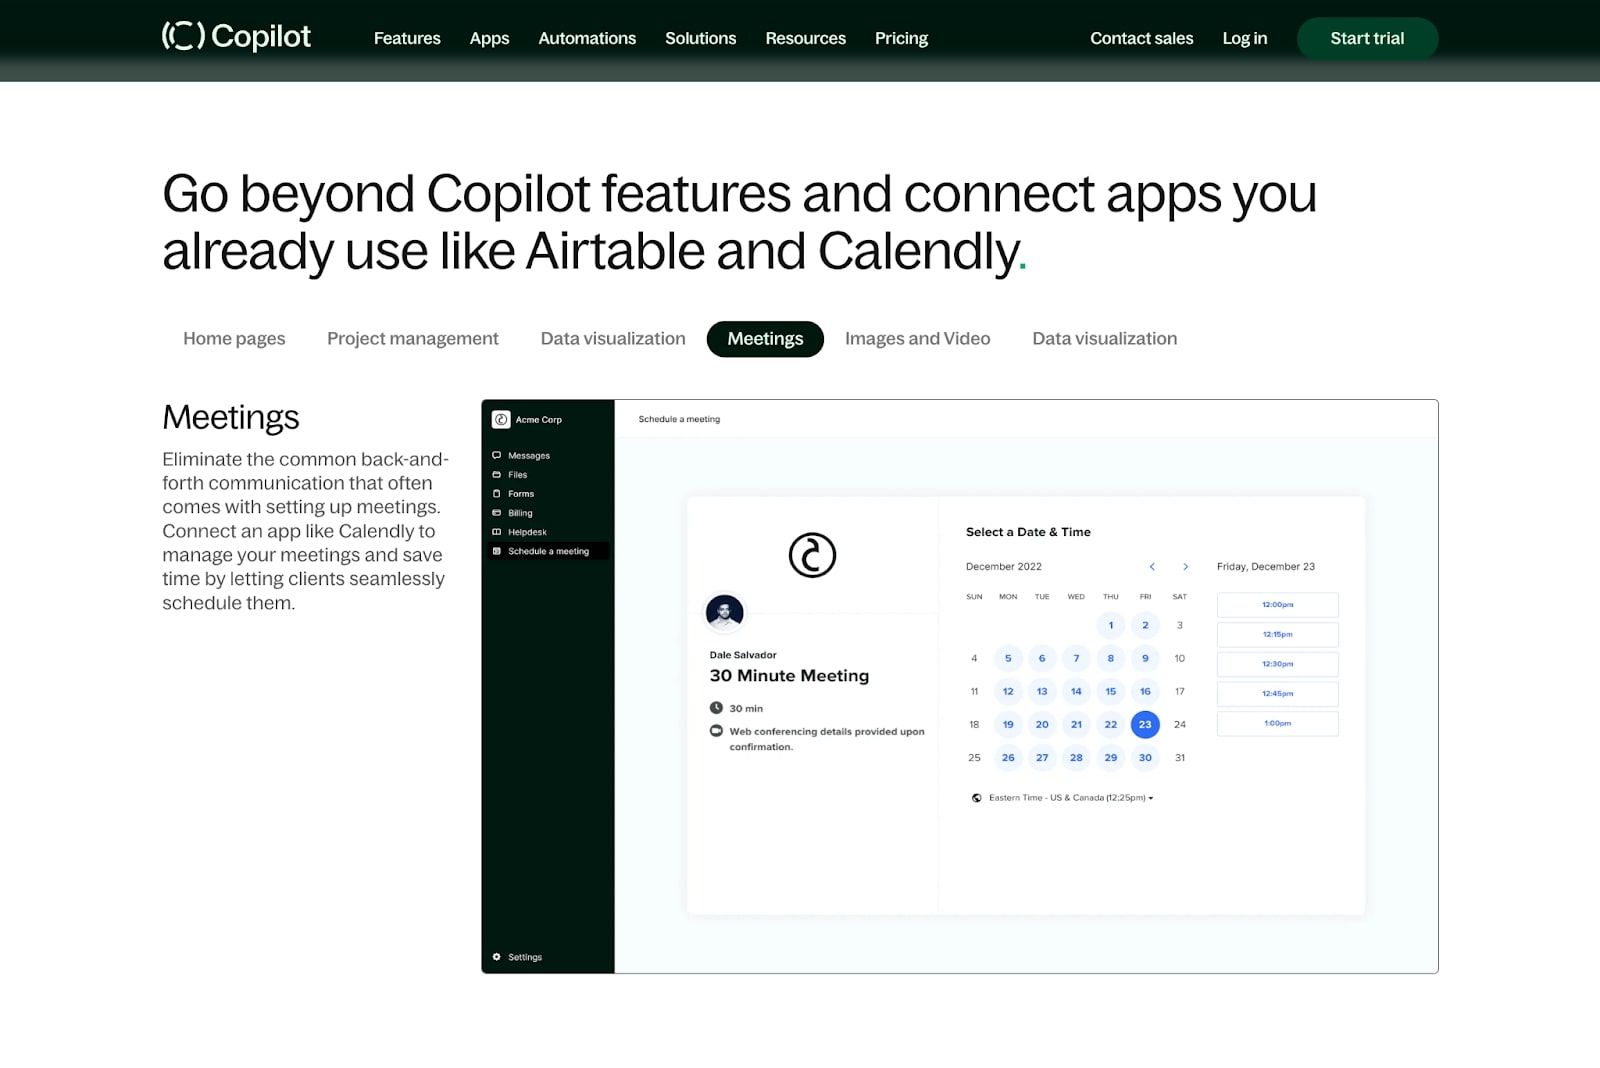
In Copilot, you can customize everything from the way your sidebar looks, to colors, logos, branding names, analytics codes, and much more.
For the case of this article, we’ll be focusing on our domain. To add a custom domain for the portal section of your Wix website, go to your admin portal and click on ‘Settings’ in the bottom left corner of your portal.
Now, you’ll notice your sidebar changed and you’ll have more admin-level settings to customize. Here, you’ll want to click on the ‘Domains’ option.
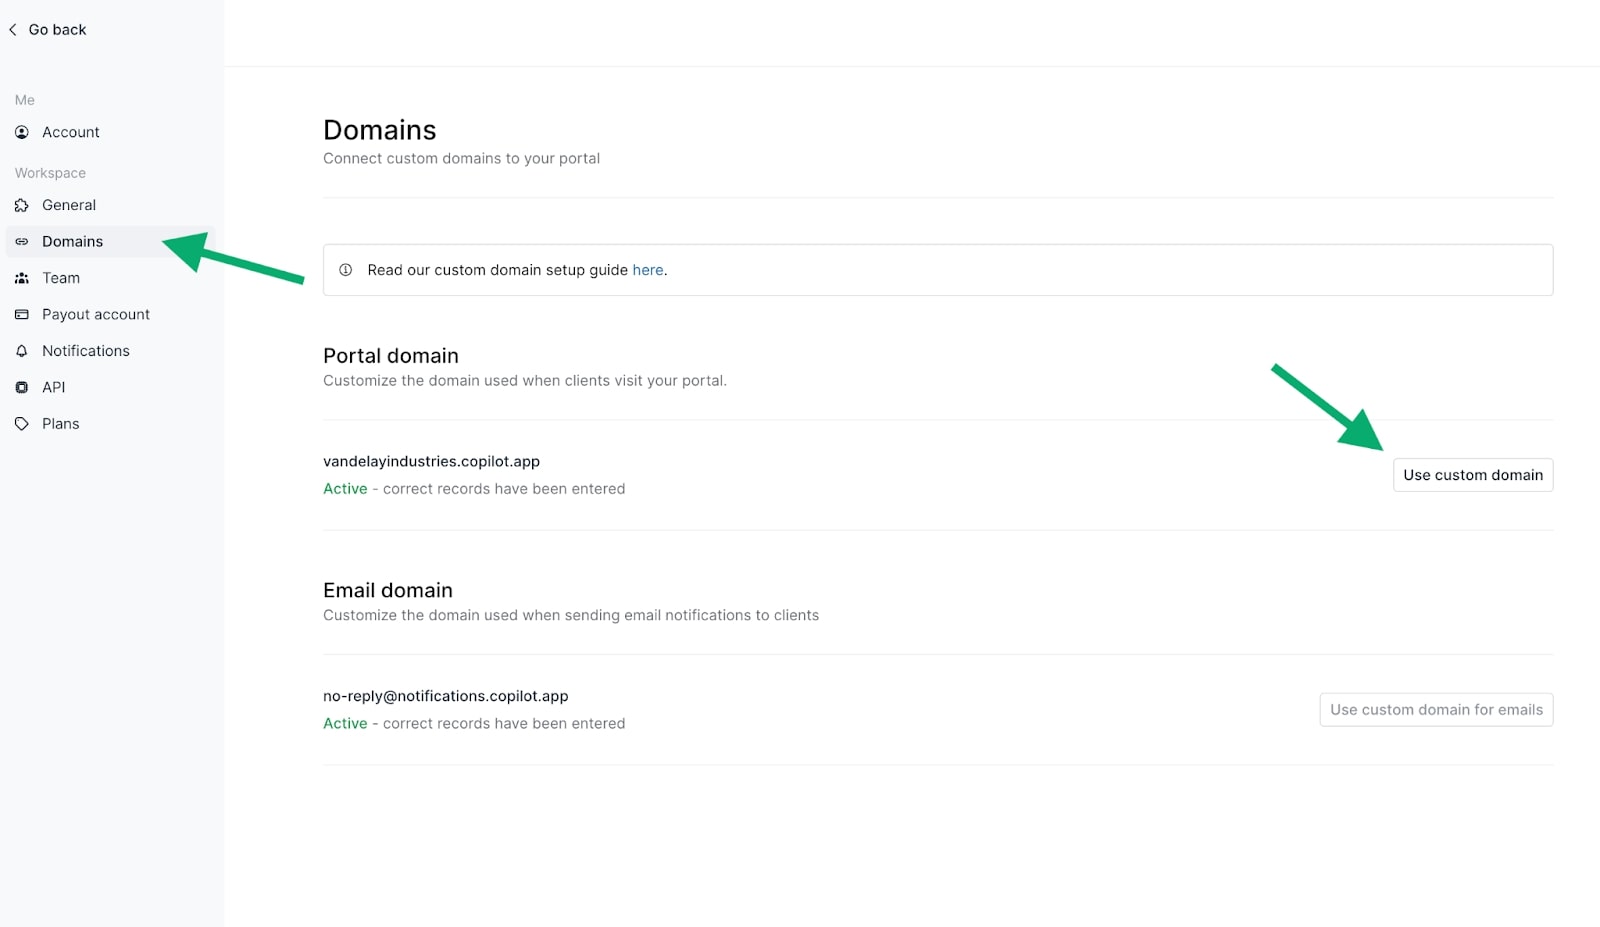
What most people do when integrating a client portal with their existing website is they’ll create a subdomain where their clients’ portals live on.
So, if your Wix website lives on yourwebsite.com, you’ll want to create a subdomain like portal.yourwebsite.com where clients can make an account and log into their personal portal. What you name this subdomain is up to you, but most businesses use the word “portal.”
To add a subdomain to your existing domain, you’ll need to edit your DNS settings. This will vary based on where you bought your domain. There’s a whole guide on how you can do this here.
In this case, our “Wix” site is copilot.app, but our Copilot portal lives on vandelayindustries.copilot.app. This Copilot custom domain is the link we will use on our Wix website.
So, let’s dive into where the magic happens.
Integrating your Wix website with your Copilot client portal
If you've been seeking ways to elevate your client service, then marrying your Wix website with a powerful client portal like Copilot is the answer. But how do we go about this? Let's dive in.
Combining Wix and Copilot: Your business superpower
Your first step involves setting up a sign-in button on your Wix website that leads straight to your new Copilot client portal (refer to the previous section in this article). This simple action lets users transition smoothly from browsing your site to accessing their own personal space.
Once we have our ‘Sign In’ button on our Wix site, you’ll want to add your Copilot client portal that lives on your subdomain.
To do this, head back to your Wix site, click your button, click on the link option, link out to a ‘Web address’, and paste your custom subdomain.
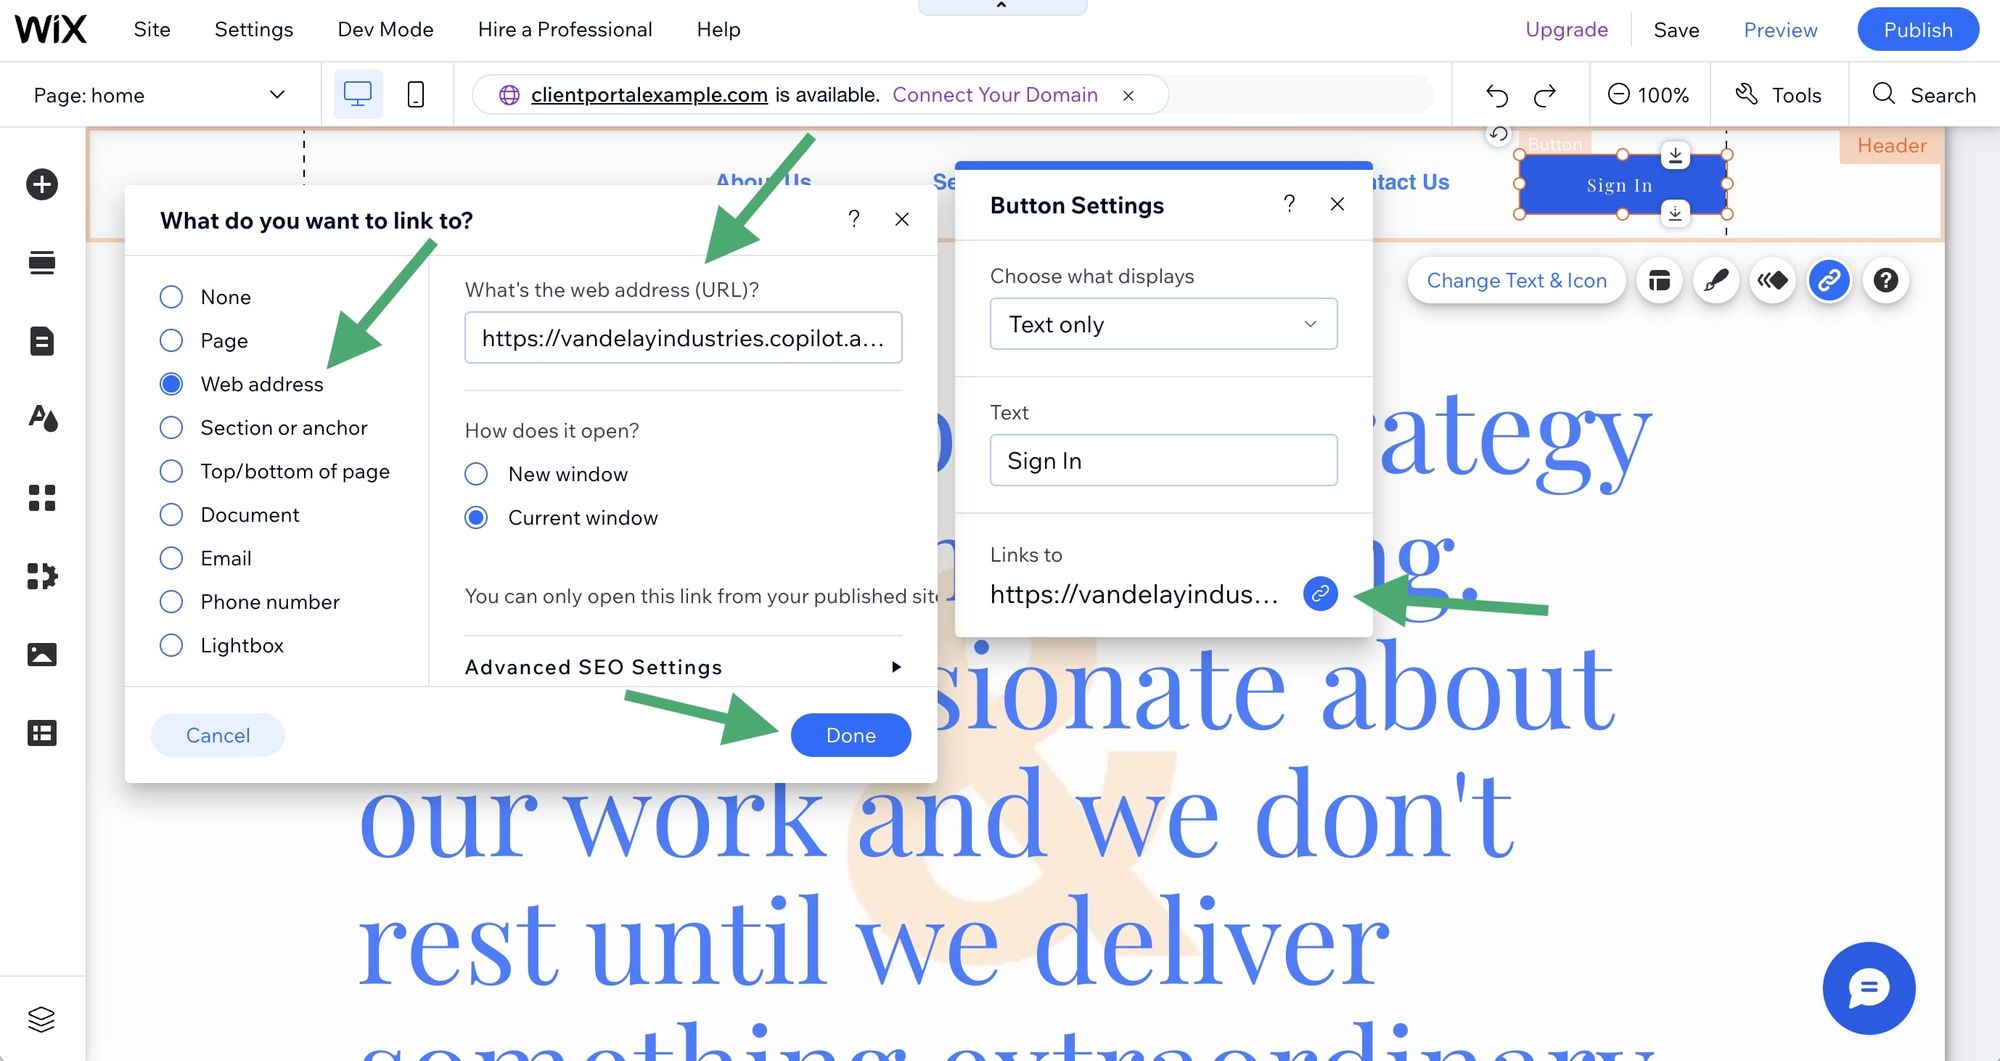
You can also make it so that your client portal opens in a new window or the same window as your Wix site. This is a personal preference. Most sites choose the open in ‘Current window’ option.
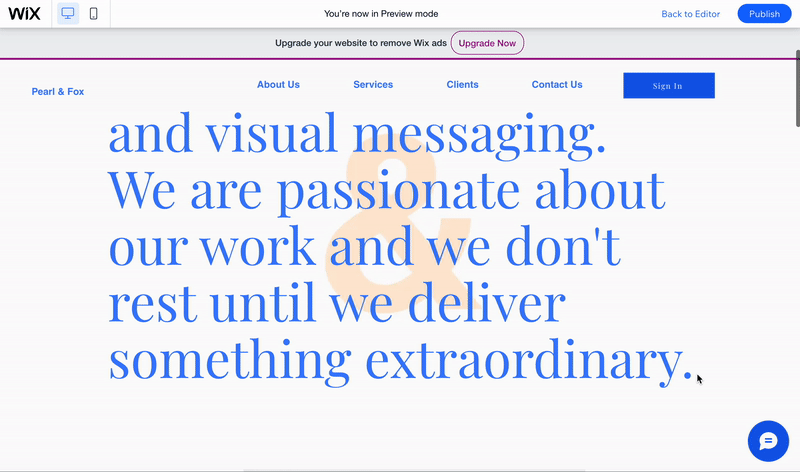
Now when your client goes to your Wix website and clicks on your sign-in button, they’ll have the option to log into their client portal!
It's also worth noting that you can add a 'Sign Up' button as well if you want to let clients sign up on their own. Otherwise, you'll need to send your client an invitation email (done within Copilot) or send them a sign-up link.
And just like that, you’ve now created your very own Wix client portal.
Conclusion
So, you've embarked on this journey to create a Wix client portal. Not an easy task but certainly doable.
You learned what Wix and client portals are all about. You grasped how they can help streamline your business operations.
Then came the software selection process — where we put Copilot under the spotlight for its remarkable features and benefits.
You rolled up your sleeves, setting up your Wix website and creating that shiny new Copilot client portal from scratch. Integration? Check! And with it came user-friendly sign-up options right on your site.
Alright, you've got all the info to craft a smooth online experience for your clients with any Wix website!
Share this post
Sign up for our newsletter
Subscribe to our newsletter to receive emails about important announcements, product updates, and guides relevant to your industry.
