Back to Blog Home
5 Ways to Automate Client Portals With Copilot and Zapier

In today's digitally driven world, client portals have become indispensable tools for service businesses. They put your clients in control by enhancing communication and transparency between your services and clients. They can also help streamline administrative tasks, helping you boost productivity and improve client satisfaction and retention.
In this article, we’ll go over how you can leverage automation with Copilot by using Zapier to integrate with existing tools you or your clients may already be using.
The Power of Automation with Copilot and Zapier
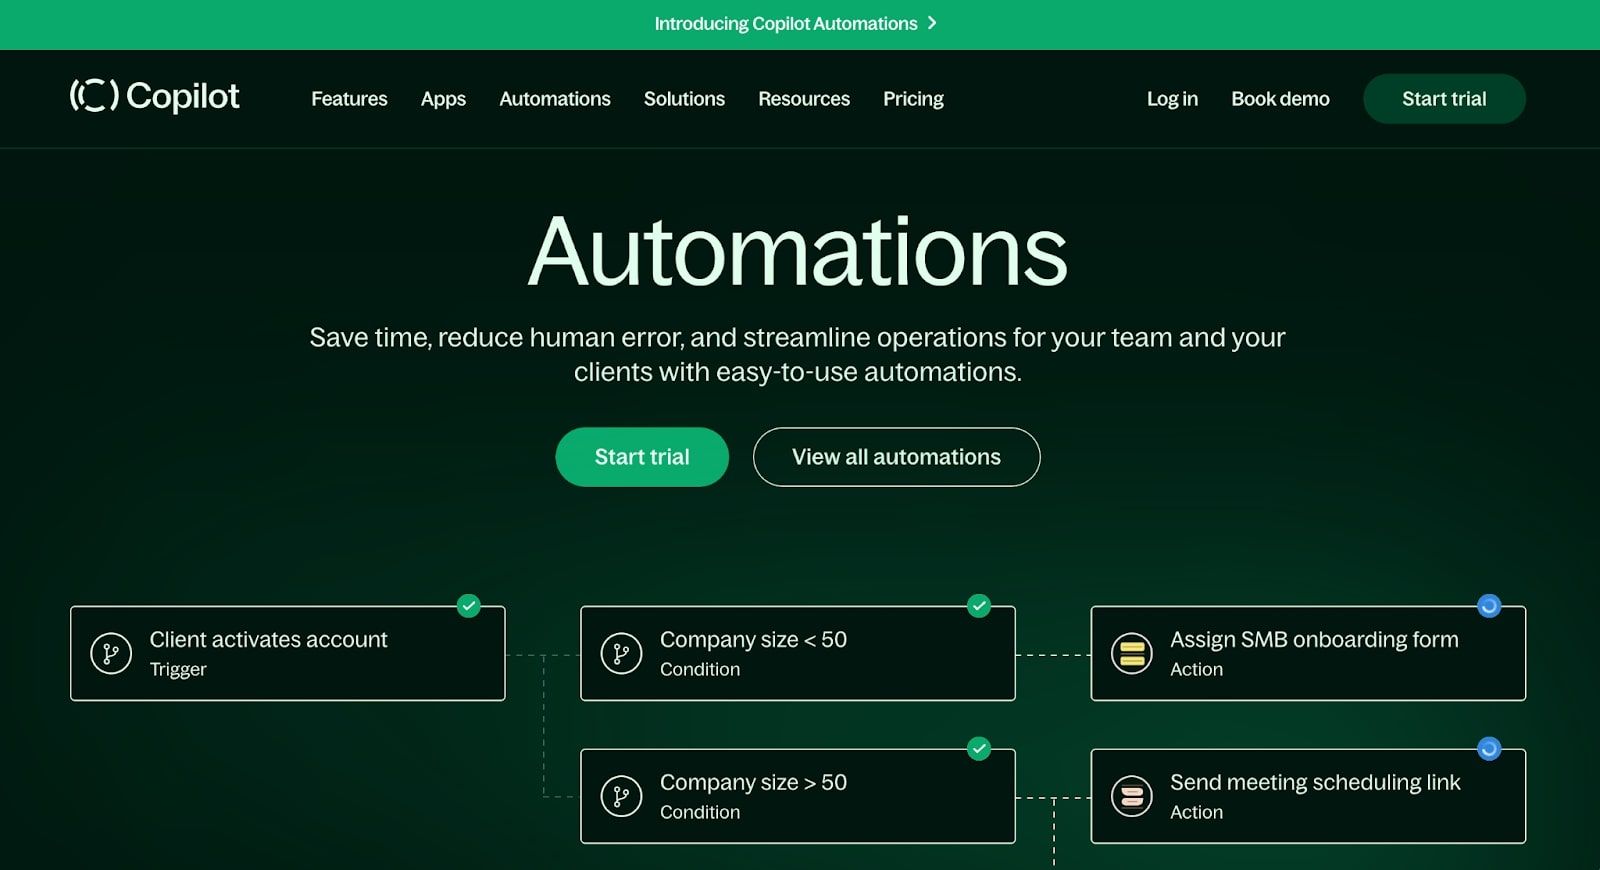
Automating repetitive and manual tasks has become a necessity for businesses looking to operate efficiently and effectively. This is where the integration of Copilot and Zapier comes into play.
Copilot is an all-in-one client portal designed to streamline the way you manage your business, from onboarding clients to managing projects and tasks, all the way to invoicing and payment collection. It is packed with robust features that cater to the complex needs of service businesses, making it an indispensable tool for any modern firm.
On the other hand, Zapier is an online automation tool that connects your favorite apps, such as Google Drive, Slack, QuickBooks, and now Copilot, to automate repetitive tasks without the need for coding or relying on developers to build out the integration.
The powerful synergy of Copilot and Zapier enables you to automate numerous tasks within your client portal, saving time and resources while minimizing human error. This integration allows for seamless data transfer between Copilot and hundreds of other applications, consolidating all necessary information in a single location. But the power of automation through Copilot and Zapier goes beyond mere time-saving — it can fundamentally reshape your business management. By freeing up your time to focus more on strategic aspects and high-value tasks, this automation not only improves service delivery but also enhances the client experience.
Now let’s get into five core ways you can use Copilot with Zapier, and go over a handful of different “Zaps” you can start using today.
5 Ways to Automate Client Portals with Copilot and Zapier
Here are a few powerful ways you can automate your service business with Copilot and Zapier:
1. Automate Client Onboarding
Onboarding new clients is a critical process that sets the tone for your working relationship. It's the stage where you establish expectations, gather important information, and demonstrate the value you bring to your clients. However, manual onboarding can often be time-consuming and prone to human error. Automating this process with Copilot and Zapier can save time, increase accuracy, and ensure consistency.
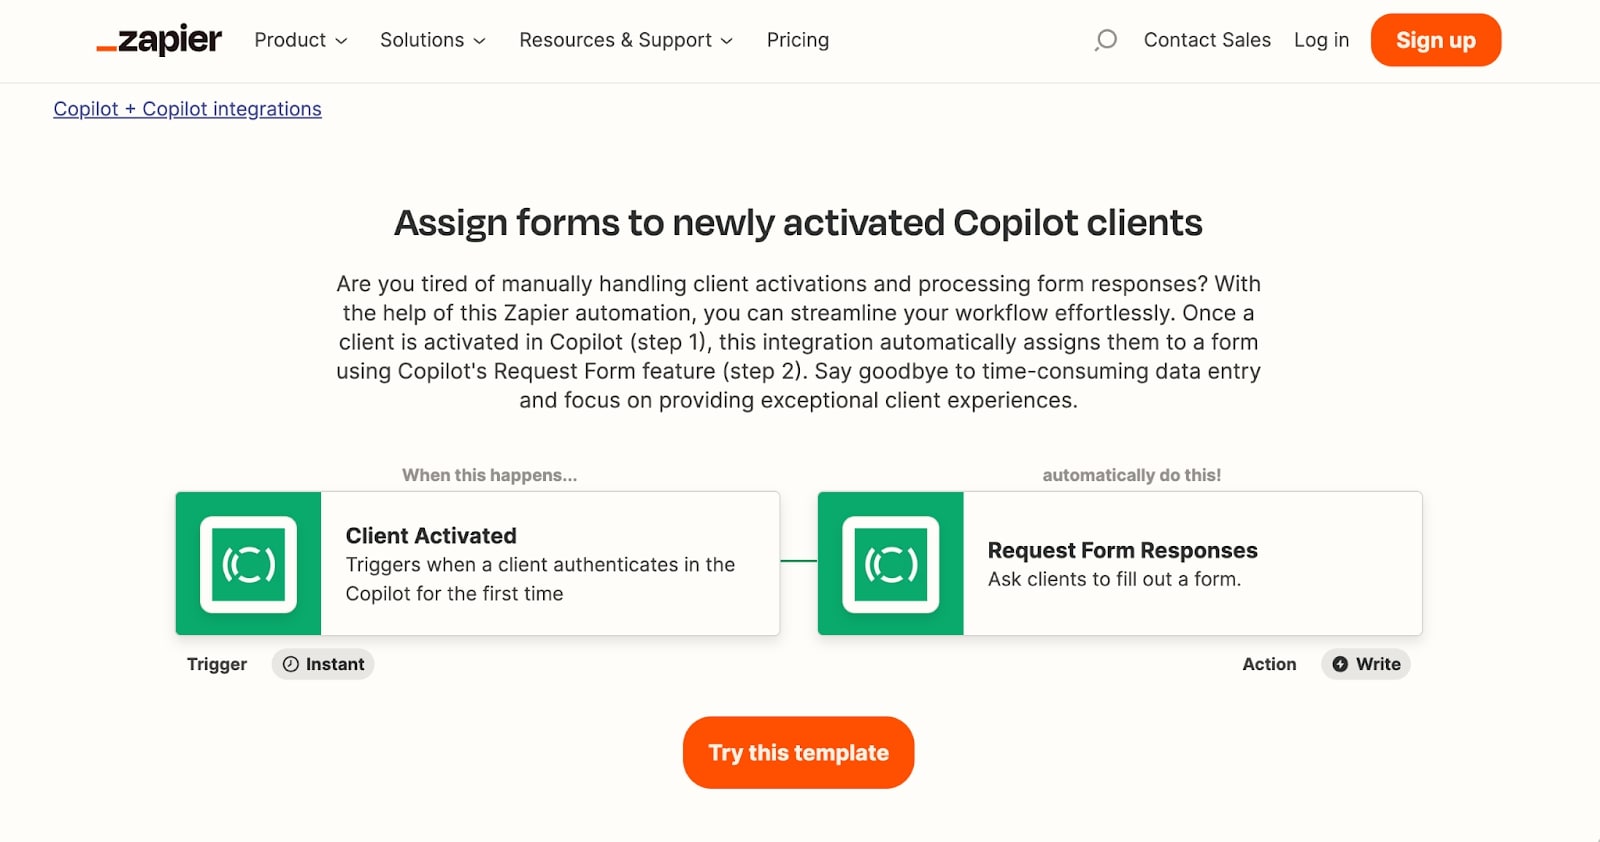
Assign forms to newly activated Copilot Clients
A significant part of client onboarding involves collecting relevant information about the client and their needs. This information is often gathered through forms that the client needs to fill out. With Copilot and Zapier, you can automate this process by automatically assigning forms to newly activated clients.
Here's how to do it:
- Create a new form in Copilot: Include all the fields that you would usually ask a new client to fill out. This could include their business information, their specific service requirements, their preferred communication methods, and any other details relevant to your service.
- Set up a Zap in Zapier: Zapier is a tool that allows different apps to talk to each other. You'll want to create a new 'Zap' (an automated workflow) that triggers when a new client is added in Copilot.
- Choose Copilot as the trigger app: The trigger is the event that starts a Zap. In this case, you'll select Copilot and the event 'New Client'.
- Choose Copilot as the action app: Next, you'll select the action you want Zapier to take when the trigger event happens. Choose Copilot again, but this time select 'Assign Form to Client' as the action.
- Map the fields: In this step, you'll tell Zapier which form to assign when a new client is added. Choose the form you created in the first step.
- Test the Zap: Zapier allows you to test your Zap to make sure everything is working as expected. If the test is successful, you can turn on your Zap and it will automatically run whenever a new client is added in Copilot.
This automation streamlines your onboarding process, ensures all necessary information is collected consistently, and lets you get started with your work sooner. It also enhances the client's experience, as they're guided seamlessly through the onboarding process without any gaps or delays.
2. Streamline Appointment Scheduling
In the service business world, scheduling appointments is a crucial aspect of day-to-day operations. It sets the pace for the working timeline, assures clients of your availability, and allows you to plan and manage your time effectively. The combination of Copilot and Zapier can automate this process, reducing the chance of scheduling conflicts and freeing up your time for more important tasks.
Create clients in Copilot when new events are scheduled in Calendly
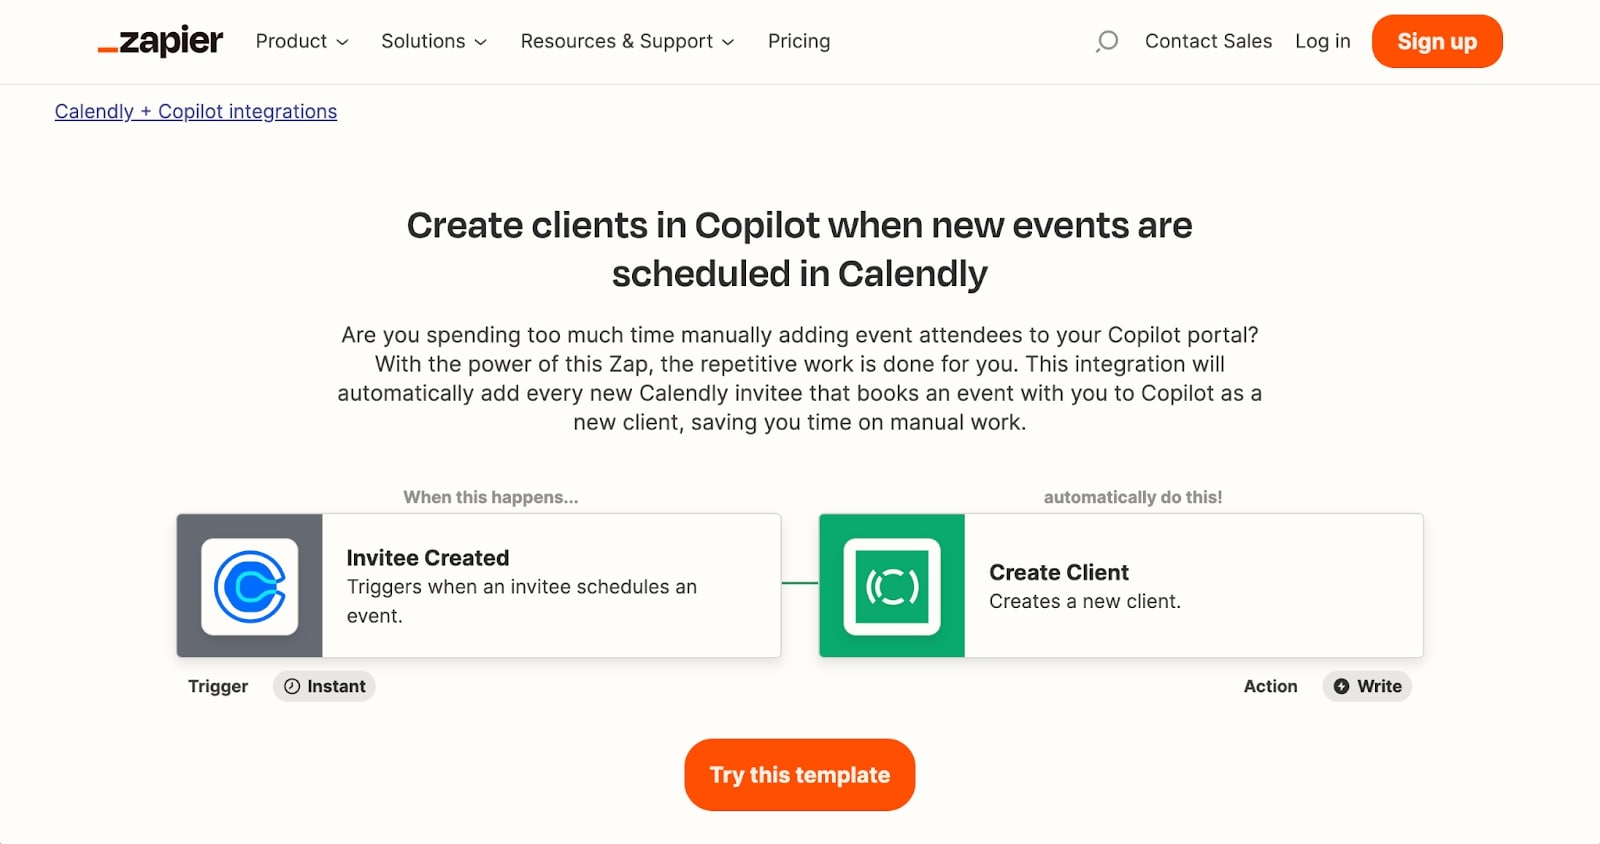
Calendly is a popular tool that automates the scheduling of meetings without the need for back-and-forth emails. When you combine it with Copilot and Zapier, you can automatically create new client profiles whenever a new appointment is booked via Calendly. Here's how:
- Set Up Calendly: First, ensure you have your meeting types set up in Calendly. Each meeting type should align with a specific service you offer.
- Create a New Zap in Zapier: As before, you'll want to create a new Zap in Zapier. This time, Calendly will be the trigger app.
- Choose Calendly as the Trigger App: You'll select Calendly and the event 'New Invitee Created'. This event triggers whenever a new appointment is booked in Calendly.
- Choose Copilot as the Action App: Now, you'll choose Copilot as the action app, with 'Create Client' as the action.
- Map the Fields: You'll need to tell Zapier what information to use when creating the new client in Copilot. Map the fields so that the invitee's information from Calendly (like name, email, phone number) aligns with the corresponding fields in Copilot.
- Test and Activate the Zap: Finally, test the Zap to ensure that it works as intended. If the test is successful, activate the Zap.
This automation keeps your client list updated in real-time as appointments are scheduled, making it easy to track your clients and their appointments. It also reduces the possibility of manual errors and enhances the client experience by ensuring a seamless booking-to-service process.
3. Automate Client Communications in Slack
With remote and hybrid teams on the rise, instant communication is vital for maintaining a seamless flow of work and keeping everyone on the same page. Platforms like Slack have become increasingly popular as they offer instant messaging in a user-friendly and organized manner. By integrating Copilot with Slack through Zapier, you can automate client-related communications, ensuring that important updates are immediately shared with your team.
Send messages in Slack when new clients are created in Copilot
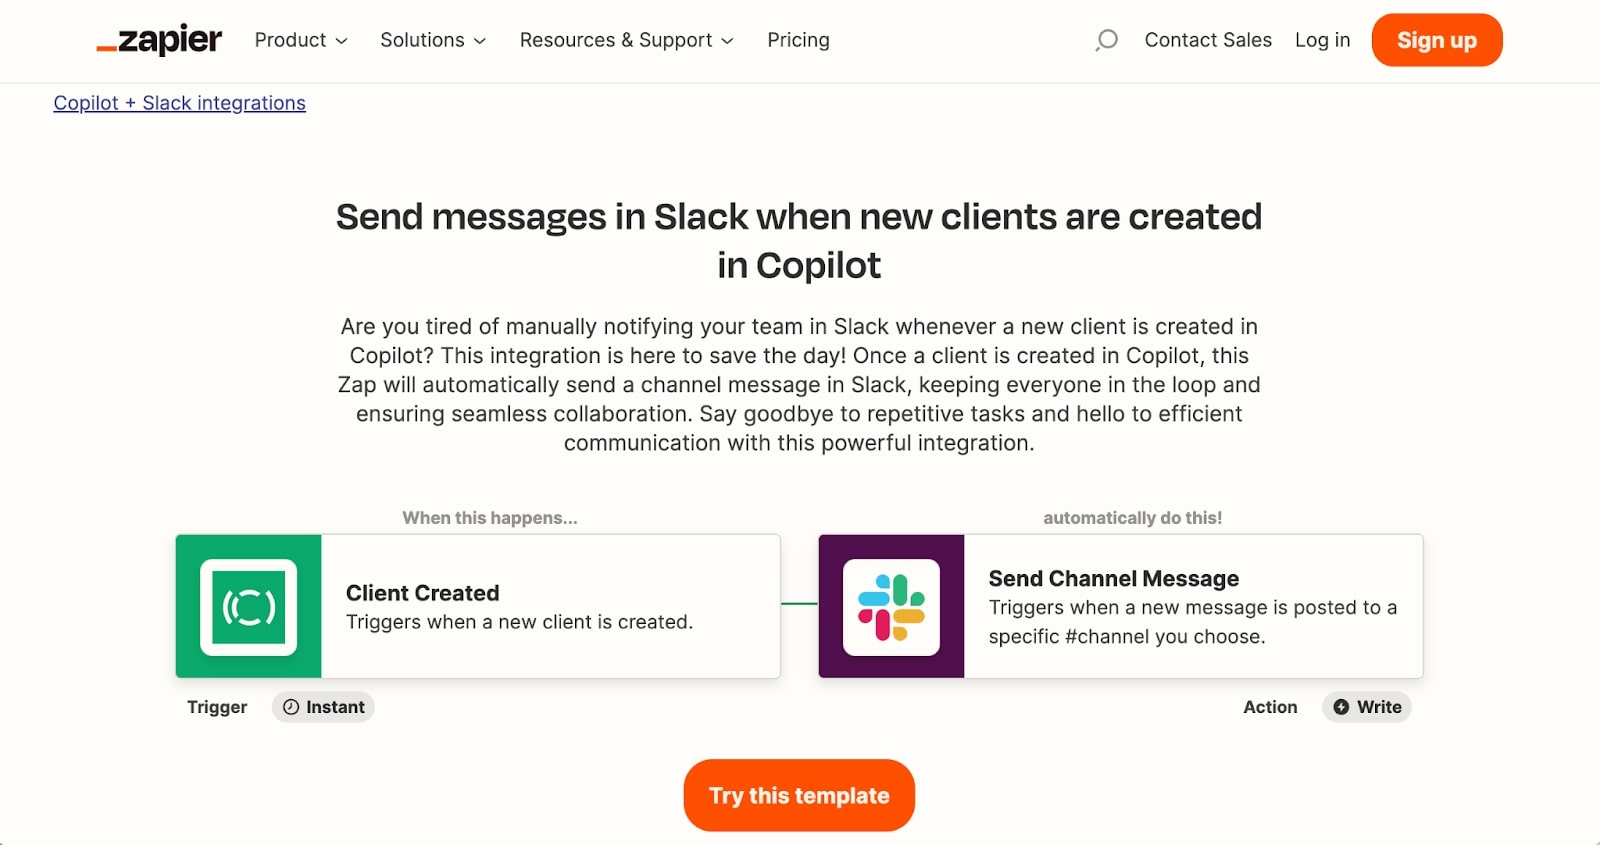
An efficient way to keep your team updated on new clients is by automating notifications in Slack. Here's how you can create a Zap to send a message in a designated Slack channel when a new client is created in Copilot:
- Create a New Zap in Zapier: Begin by creating a new Zap. Set Copilot as your trigger app, and select 'New Client' as the trigger.
- Select Slack as the Action App: In the 'Action' step, select Slack as the app, and 'Send Channel Message' as the action. You will need to choose the specific channel where the message should be posted.
- Customize Your Message: Map fields from the 'New Client' trigger to compose a message. You might include the client's name, contact information, or any other relevant details.
- Test and Activate the Zap: Finally, test your Zap to ensure it works correctly, and activate it.
Now, each time a new client is onboarded, a message will be automatically posted in Slack, ensuring your team is immediately updated.
Send messages in Slack when new form responses are submitted in Copilot
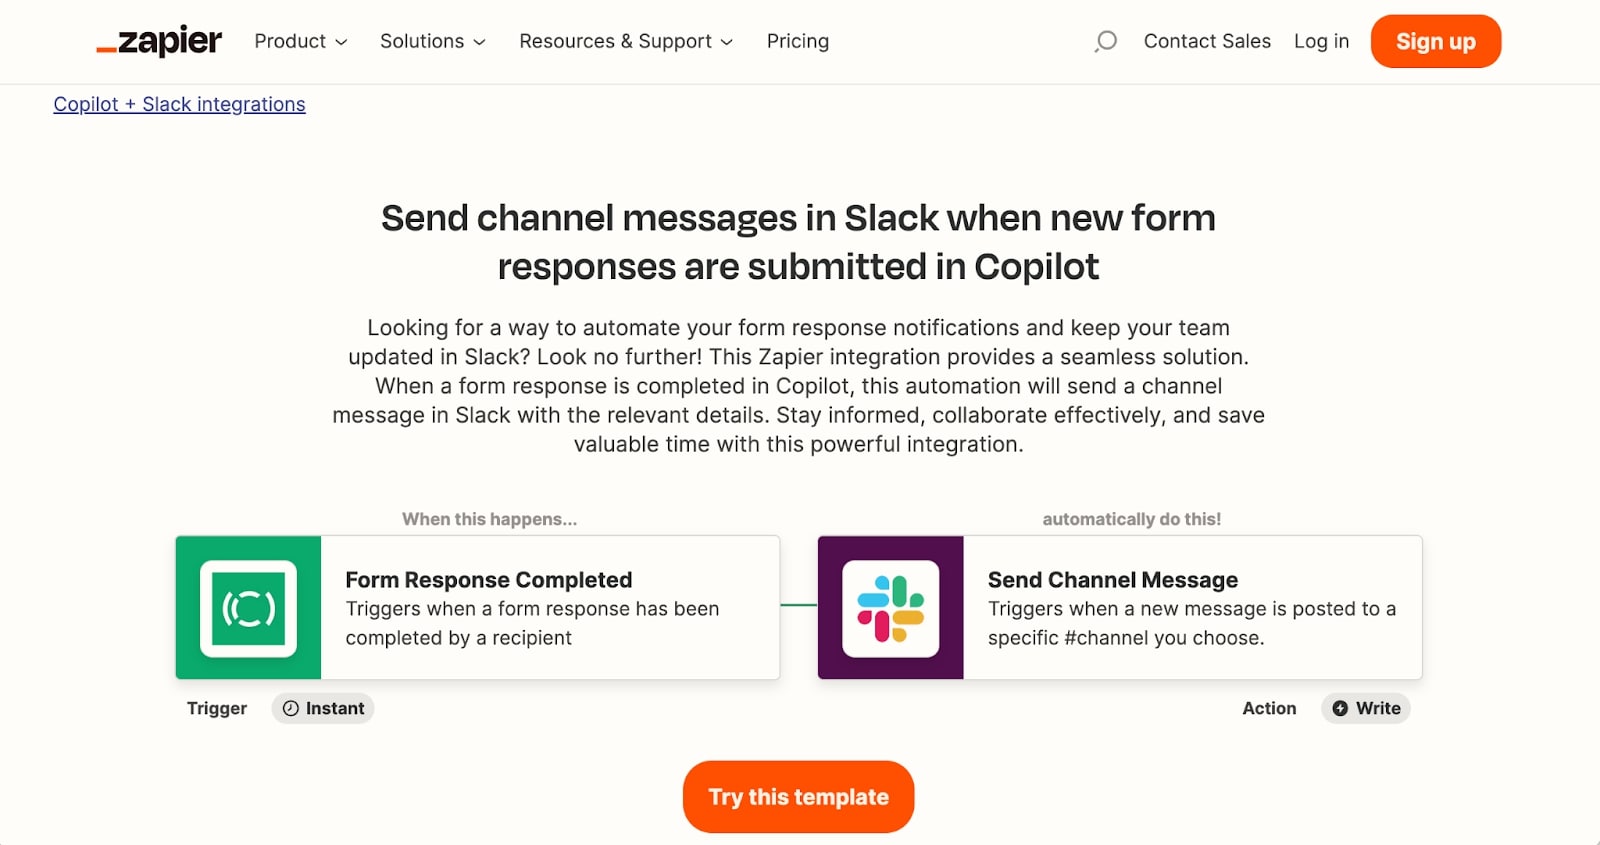
Client interactions often involve various intake forms. It could be a feedback form, a service request, or a complaint submission. You can automate notifications in Slack for new form submissions in Copilot as follows:
- Create a New Zap in Zapier: Set Copilot as your trigger app, and select 'New Form Response' as the trigger.
- Select Slack as the Action App: Choose 'Send Channel Message' as the action for Slack. Choose the channel where you want to post the message.
- Customize Your Message: Here, you can customize the details included in the Slack message. You may want to include the client's name, the form's title, and any crucial information from the response.
- Test and Activate the Zap: Test the Zap to make sure it's working properly, and then activate it.
With these automations in place, you're not just ensuring effective communication; you're also creating a proactive work environment where tasks can be initiated and addressed promptly based on client input.
4. Simplify Data Entry and Client Service Requests
Dealing with client data and service requests can be a time-consuming task. But by using Copilot and Zapier, you can automate and streamline these processes, reducing manual data entry and ensuring service requests are handled promptly and efficiently.
Create Trello cards for new form submissions in Copilot
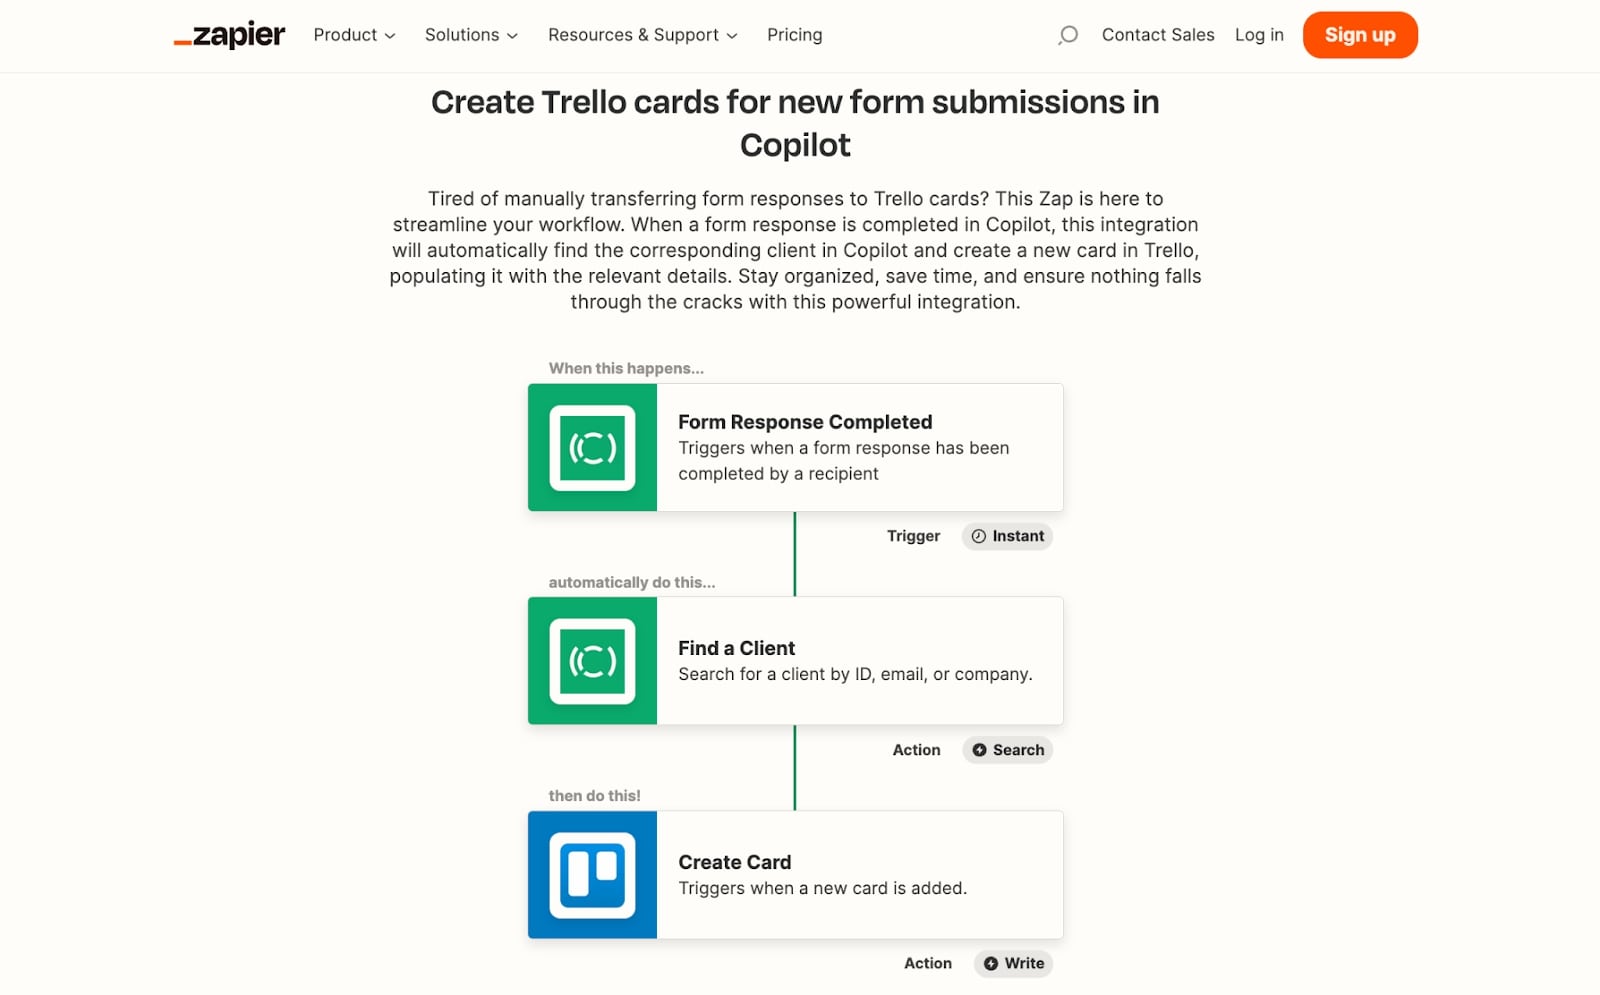
If your team uses Trello to manage tasks and workflows, you can create a Zap that automatically generates a Trello card every time a new form is submitted in Copilot. This way, you can track and manage client service requests more effectively.
To do this:
- Create a New Zap in Zapier: Start by selecting Copilot as the trigger app, and 'New Form Submission' as the trigger.
- Select Trello as the Action App: Choose Trello as the action app and 'Create Card' as the action.
- Customize the Card Details: Here, you can map form fields from Copilot to your Trello card, such as the client's name, contact details, and the request or query details.
- Test and Activate the Zap: After testing your Zap to ensure it works correctly, activate it.
Create Asana or Notion tasks from new form submissions
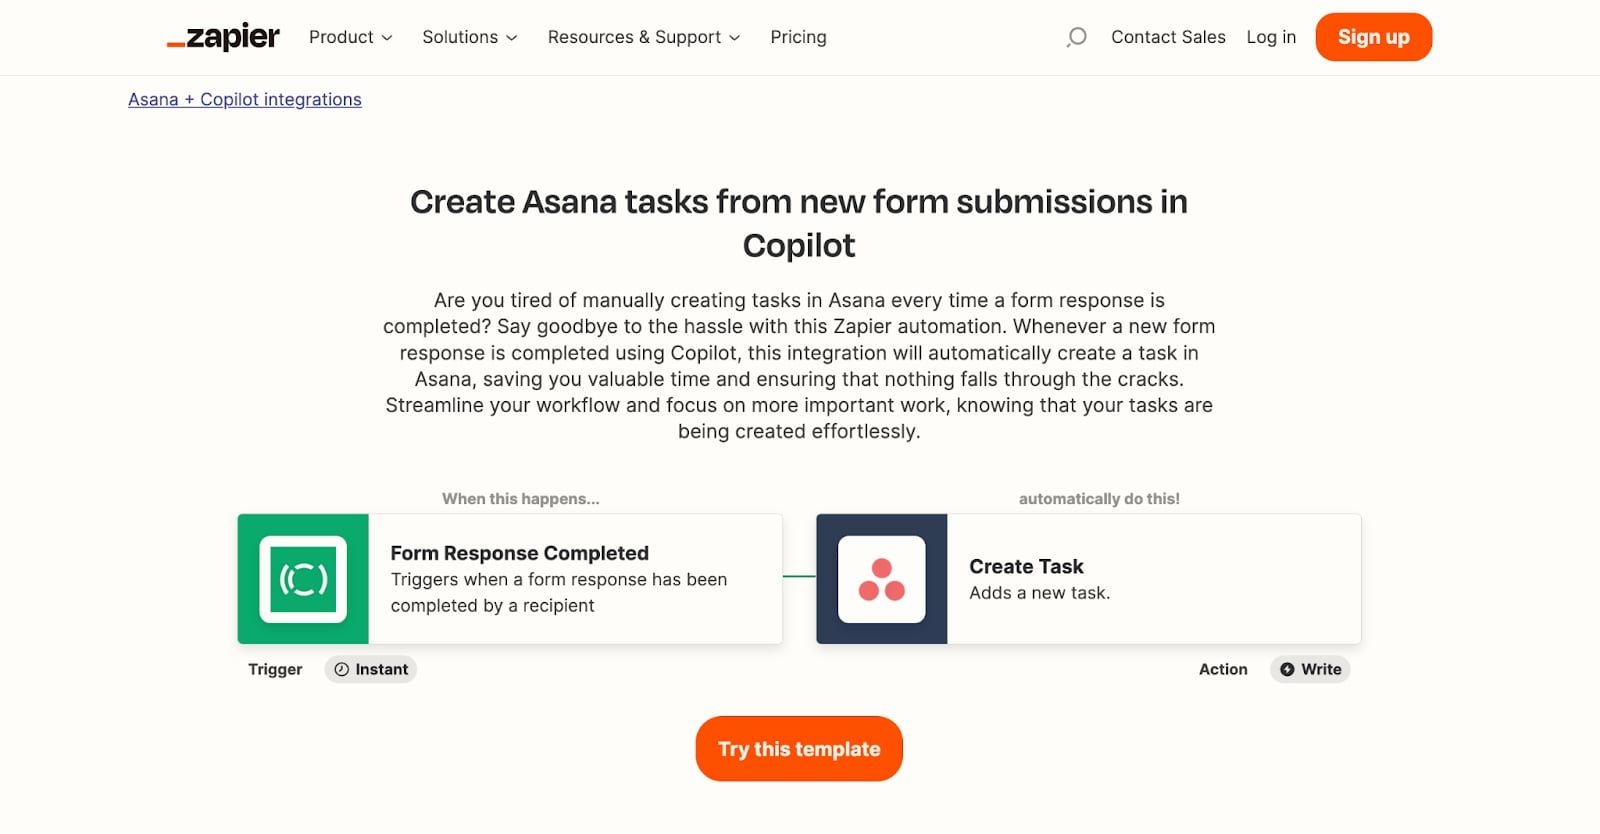
Similarly, if your team uses Asana (or even Notion) for project management, you can set up Zaps to automatically create tasks from new form submissions in Copilot.
Follow the same steps as above, but choose either Asana or Notion as the action app and customize your task details accordingly.
Create new spreadsheet rows in Google Sheets
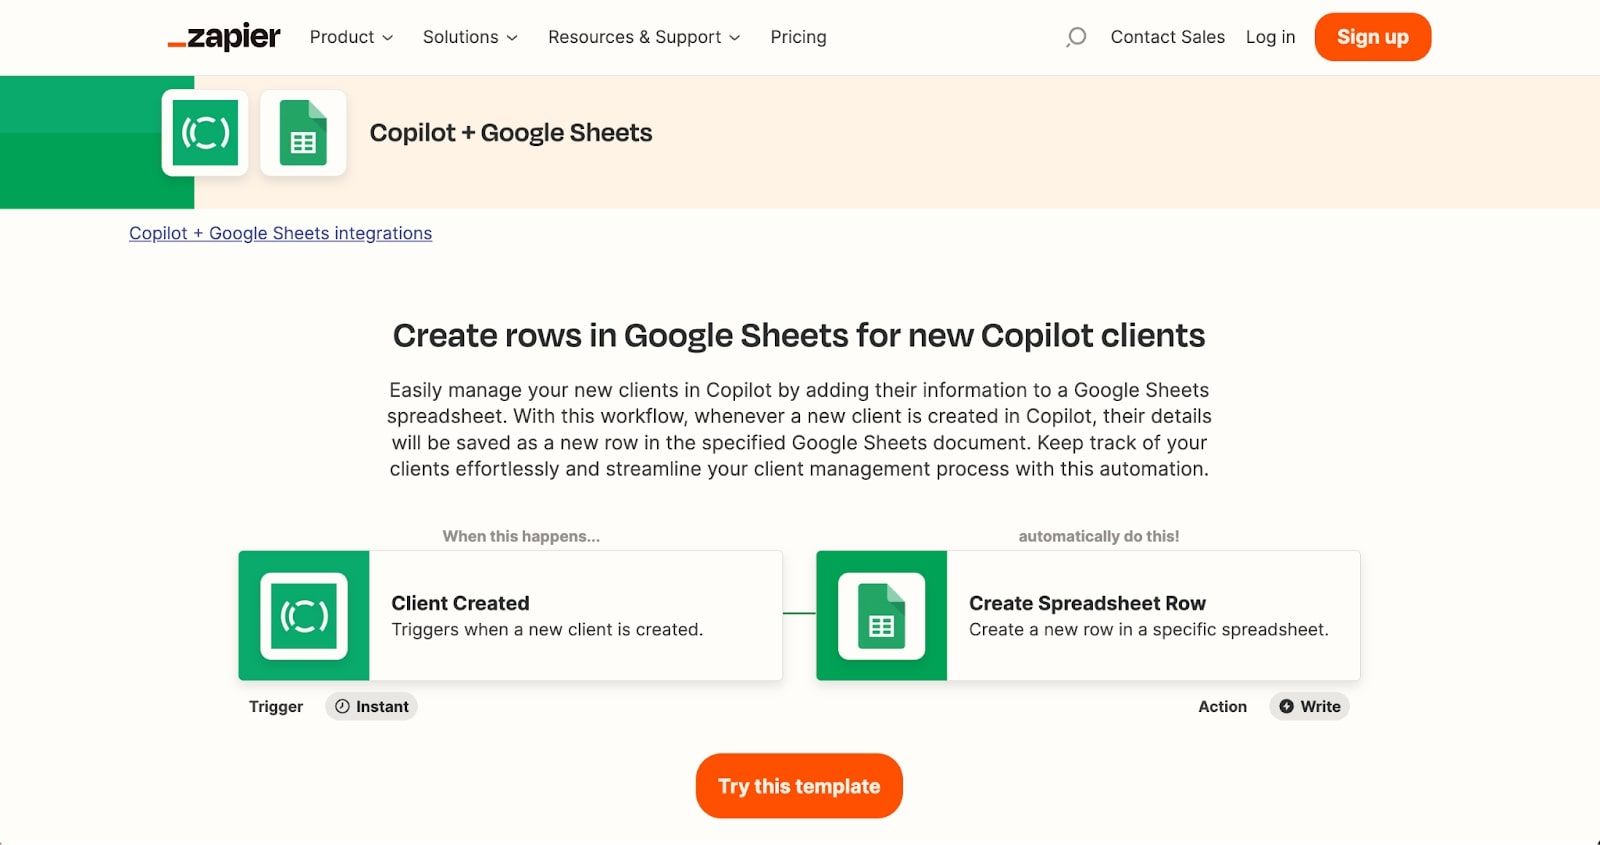
For teams who use Google Sheets to manage client data, creating a Zap to add new rows for each form submission in Copilot can be very useful.
In this case, Copilot will be your trigger app with 'New Form Submission' as the trigger, and Google Sheets as your action app with 'Create Spreadsheet Row' as the action. Customize the row with the necessary client data fields from the form submission.
Upload files to Google Drive when new files are uploaded to Copilot
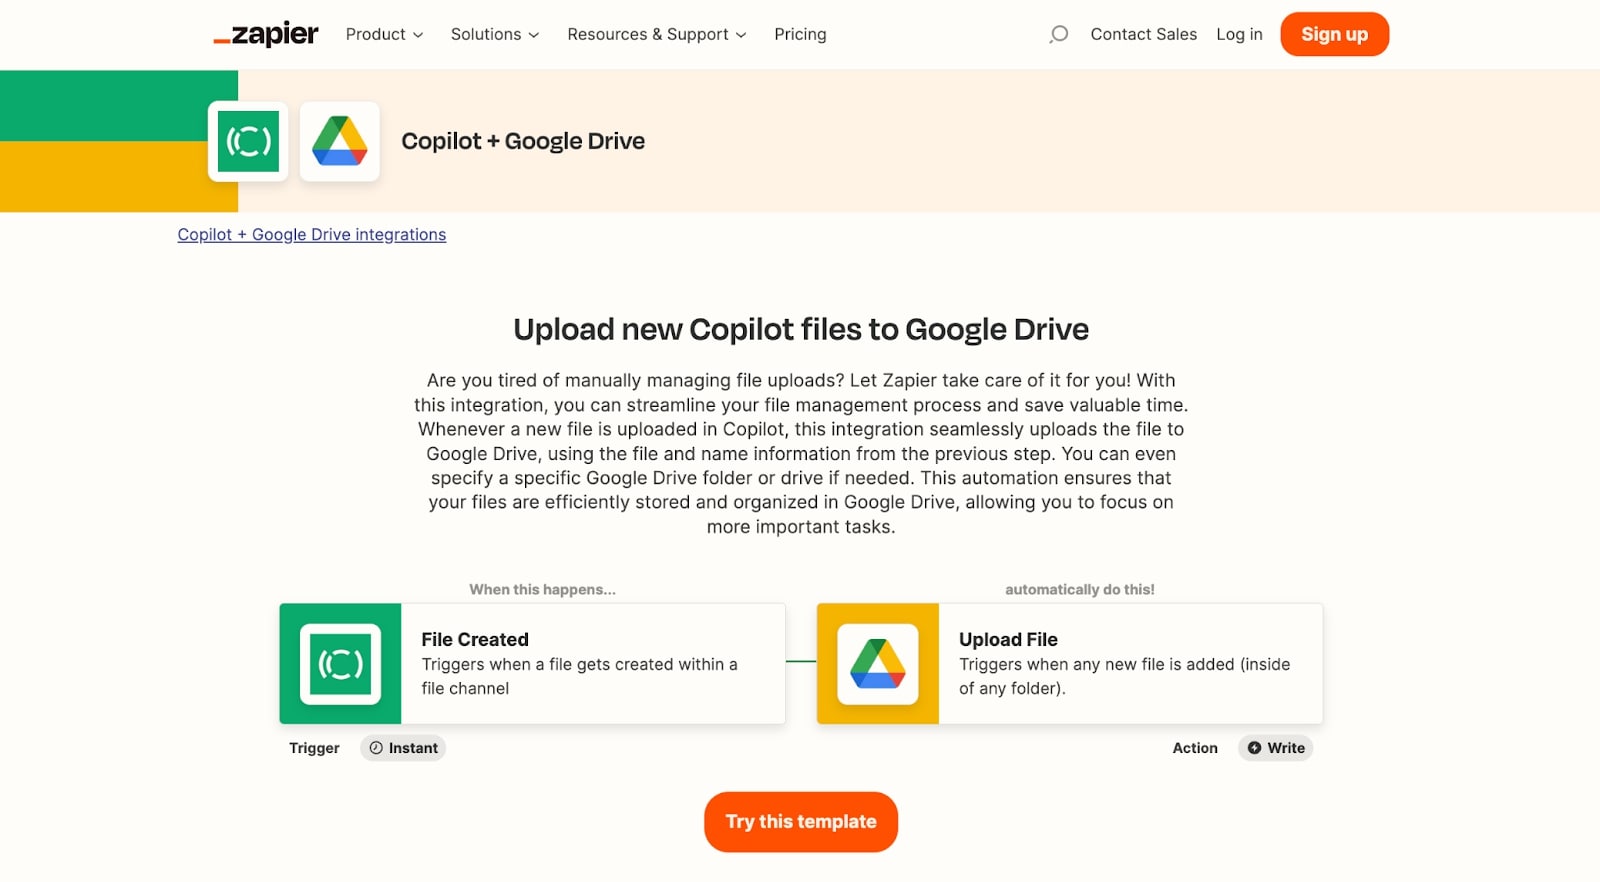
If clients upload files through Copilot, you can ensure these files are automatically saved to Google Drive. This saves time and ensures important documents are safely stored and easily accessible.
In this Zap, Copilot's 'New File' trigger can be used, with Google Drive's 'Upload File' as the action.
Update clients from new Copilot form submissions
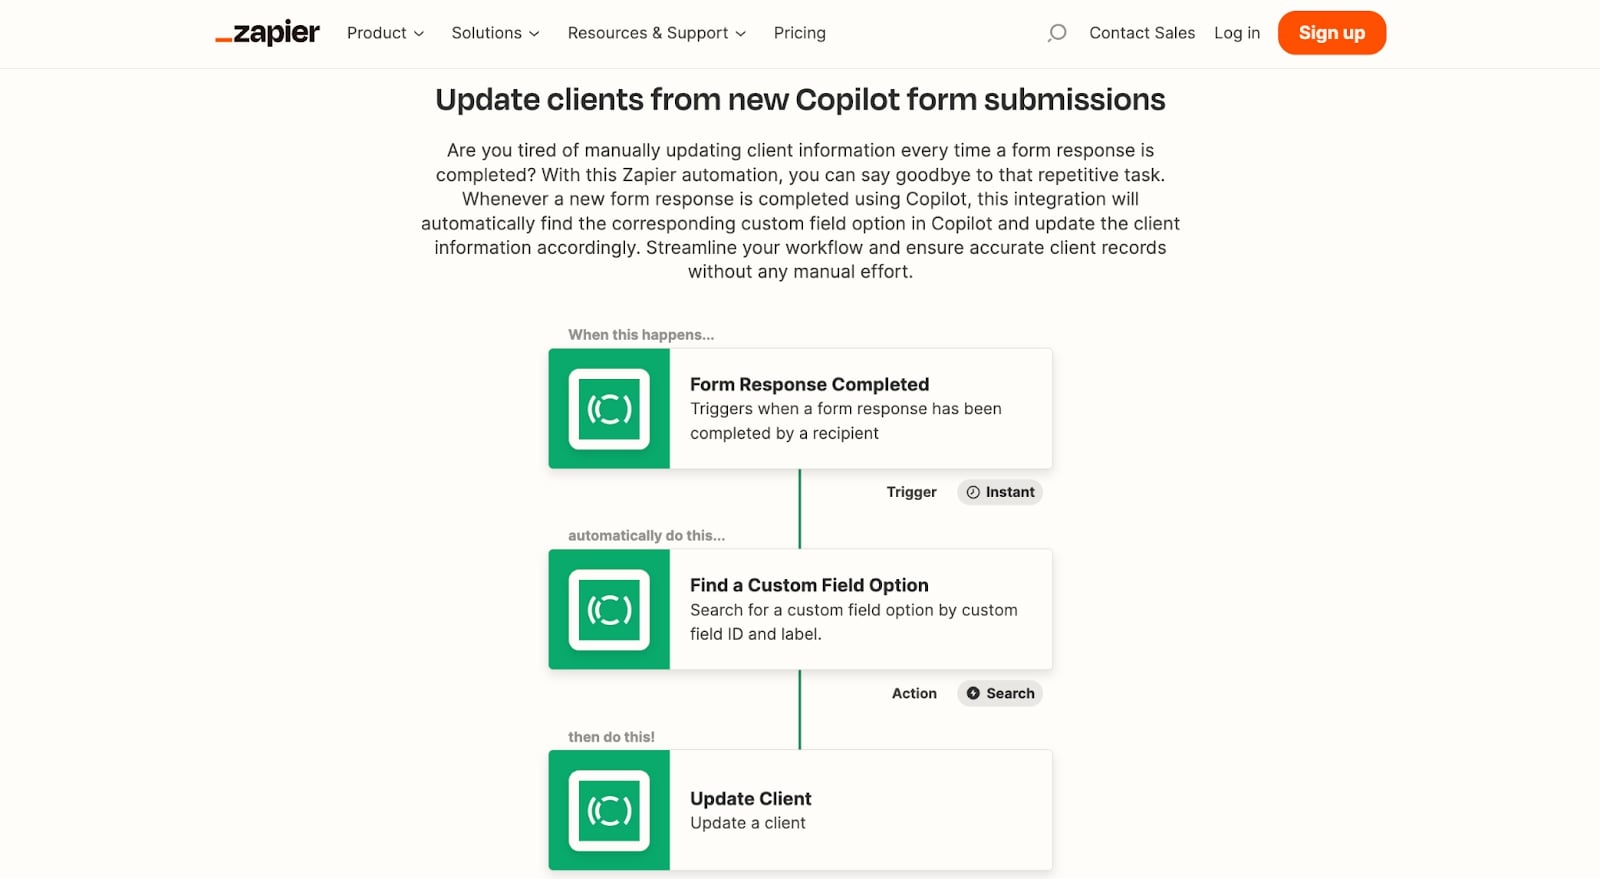
Lastly, when a client submits a form in Copilot, it might be necessary to update their details. Automate this process by setting up a Zap with Copilot as the trigger app ('New Form Submission') and action app ('Update Client').
Through these automated workflows, you can simplify data entry and service request handling, saving valuable time and increasing the efficiency of your team's operations.
5. Automate Contracts and Invoices
Managing contracts and invoices is a vital part of running any service business, but it can also be a time-consuming one. By leveraging the power of Copilot and Zapier, you can automate these processes, freeing up more time to focus on delivering value to your clients.
Connect DocuSign to Copilot
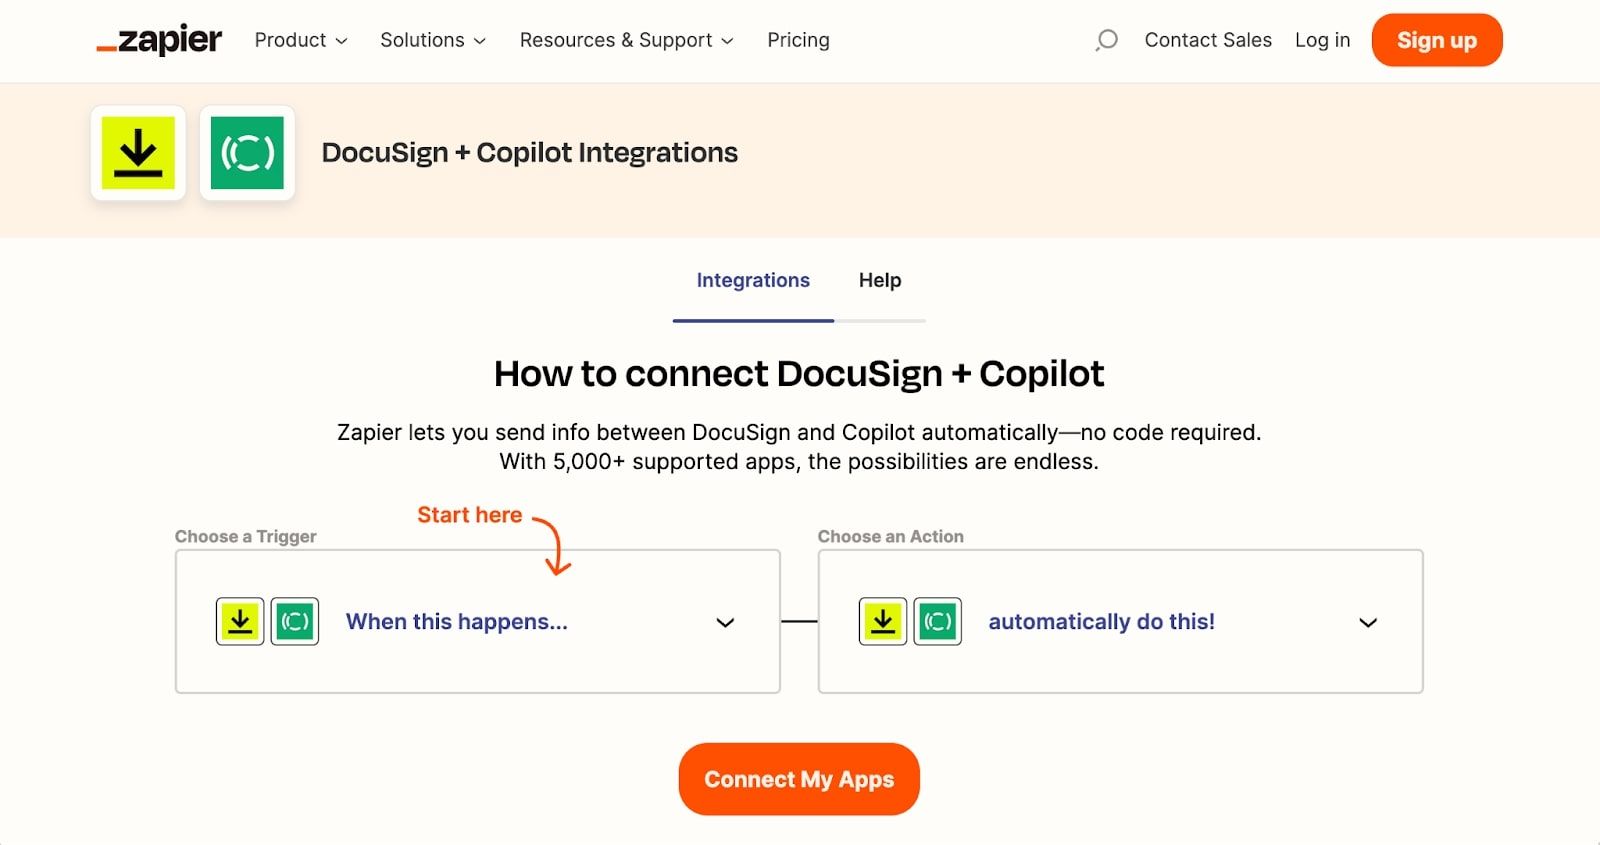
Digital contract management has become the standard for modern businesses, and DocuSign is a leading tool in this domain. By integrating DocuSign with Copilot via Zapier, you can automate contract generation and sending. Whenever you onboard a new client or start a new project in Copilot, a Zap can trigger DocuSign to create a new contract with the relevant details.
To set this up:
- Create a New Zap in Zapier: Select Copilot as your trigger app, and choose an event like 'New Client' or 'New Project' as your trigger.
- Choose DocuSign as Your Action App: Next, select DocuSign as your action app and choose 'Create Envelope' as the action.
- Customize the Envelope Details: Here, you can set up the client's contact details and the contract document to be used.
- Test and Activate the Zap: Once you've ensured that the Zap works as expected, activate it.
View all DocuSign and Copilot Integrations
Connect QuickBooks with Copilot
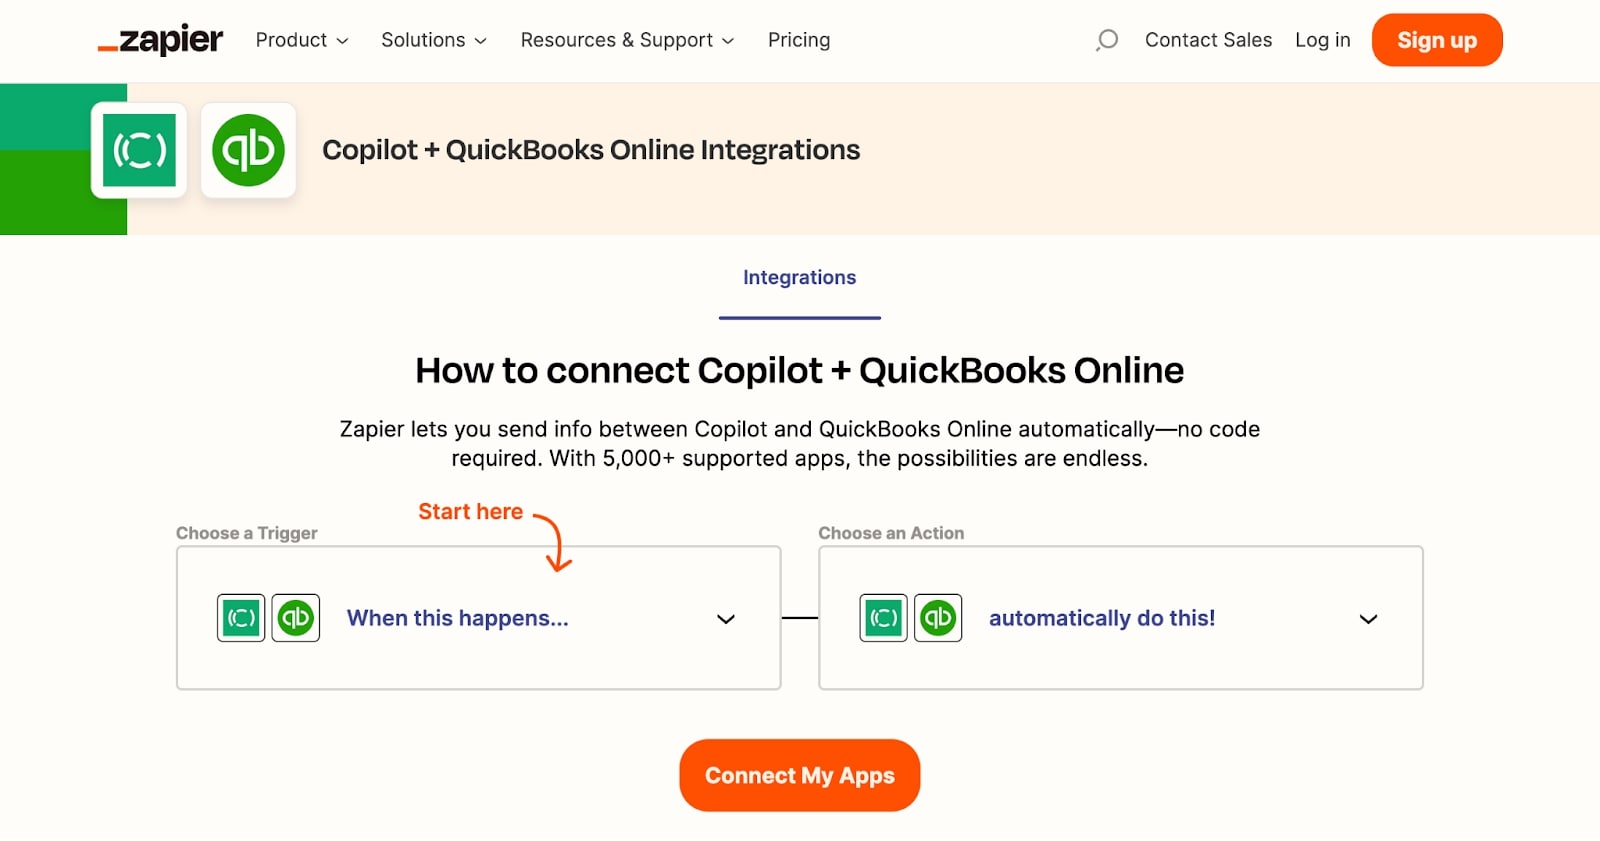
For businesses that use QuickBooks for accounting, you can set up a Zap to automatically sync client information and invoices from Copilot to QuickBooks. This can help you keep your accounting records up to date without manual data entry.
To get started:
- Create a New Zap in Zapier: Choose Copilot as your trigger app, with events such as 'New Client' or 'New Invoice' as your triggers.
- Choose QuickBooks as Your Action App: Then, select QuickBooks as your action app, with actions like 'Create Customer' or 'Create Invoice' as your actions.
- Customize the Customer/Invoice Details: In this step, you can map the client or invoice details from Copilot to QuickBooks.
- Test and Activate the Zap: After testing your Zap to ensure it works correctly, activate it.
View all QuickBooks and Copilot Integrations
Copilot also has built-in invoicing and subscription features, allowing you to bill clients directly within the platform. This eliminates the need for any external tools or Zapier integrations if all you need is to invoice your clients. However, the ability to connect with tools like DocuSign and QuickBooks via Zapier offers additional flexibility, enabling you to tailor your contract and invoice management processes to your specific needs.
Embracing Automation in Your Service Business
Harnessing the power of automation through Copilot and Zapier can revolutionize the management of your service business. While implementation may initially seem daunting, the undeniable benefits of improved workflows, enhanced client relationships, and increased profits will soon become apparent. The five strategies discussed are merely the tip of the automation iceberg. The versatility of Copilot and Zapier's vast array of integrations offers endless possibilities for business automation. So, why wait?
Embrace automation to catapult your service business into a future of enhanced productivity and success. Equipped with the right tools and strategies, you're well on your way to building a more efficient, effective, and client-friendly enterprise.
Share this post
Sign up for our newsletter
Subscribe to our newsletter to receive emails about important announcements, product updates, and guides relevant to your industry.
